
More Stucco replaced in Chevy Chase
Here's how we did it:
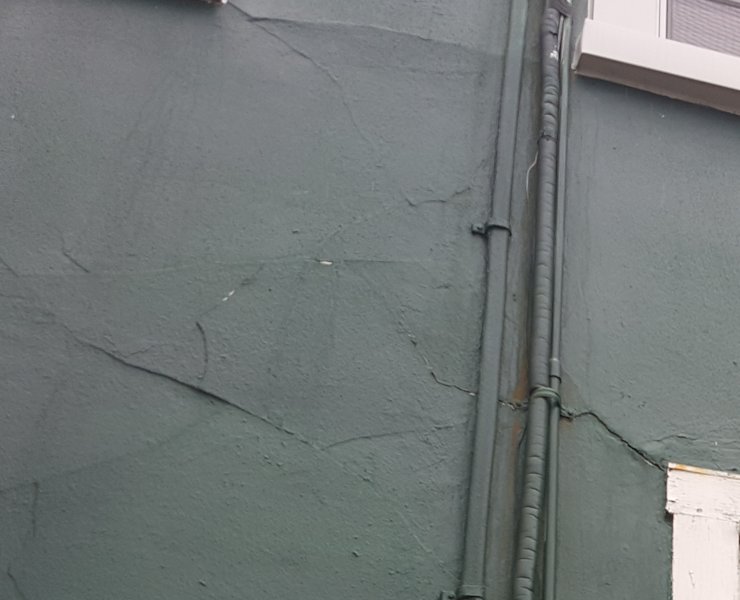
Old stucco is loose and failing.
The metal lath wasn't galvanized and was badly rusted

Rotted sheathing was patched with plywood.
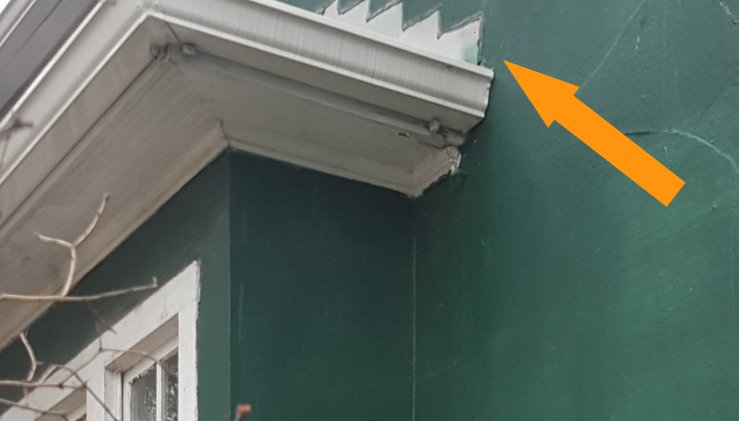
Stair step flashing is fine for bricks, but not for stucco.
Flashing should go under the stucco and not on top.

New apron flashing is put on the sheathing and sealed with tape.
Note how the old sheathing boards are spaced to allow for building movement.
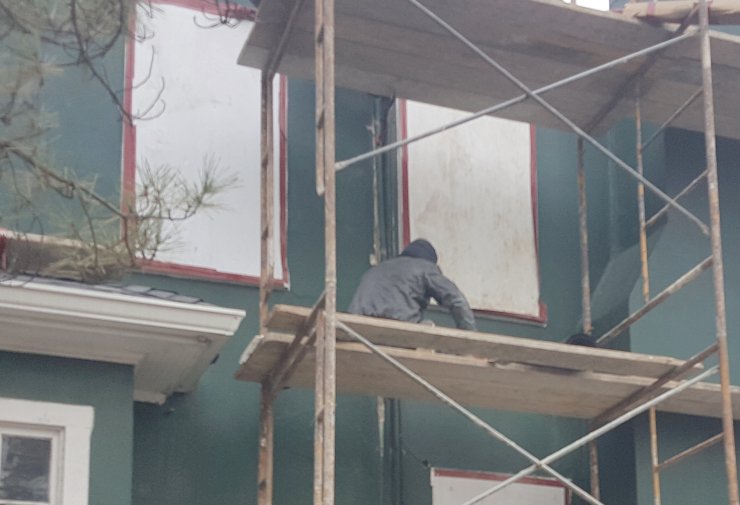
The windows are covered with Correx prior to tearing off the stucco to prevent damage from falling debris.
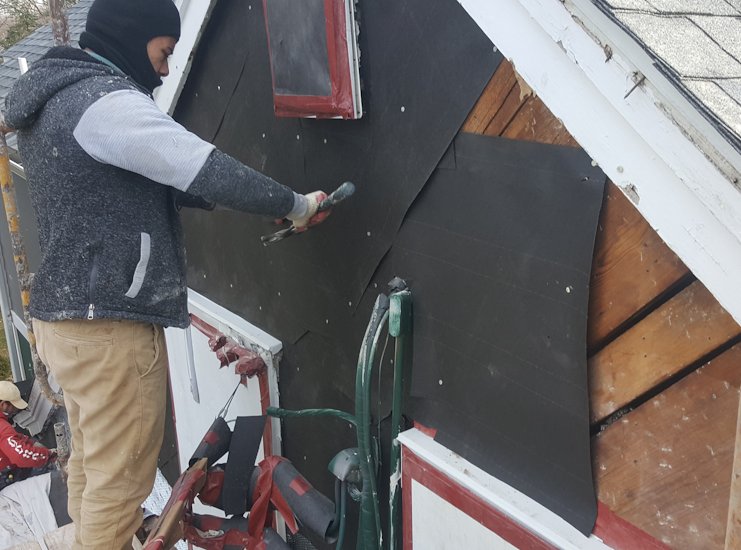
The windows get new flashing that is overlapped with tar paper.
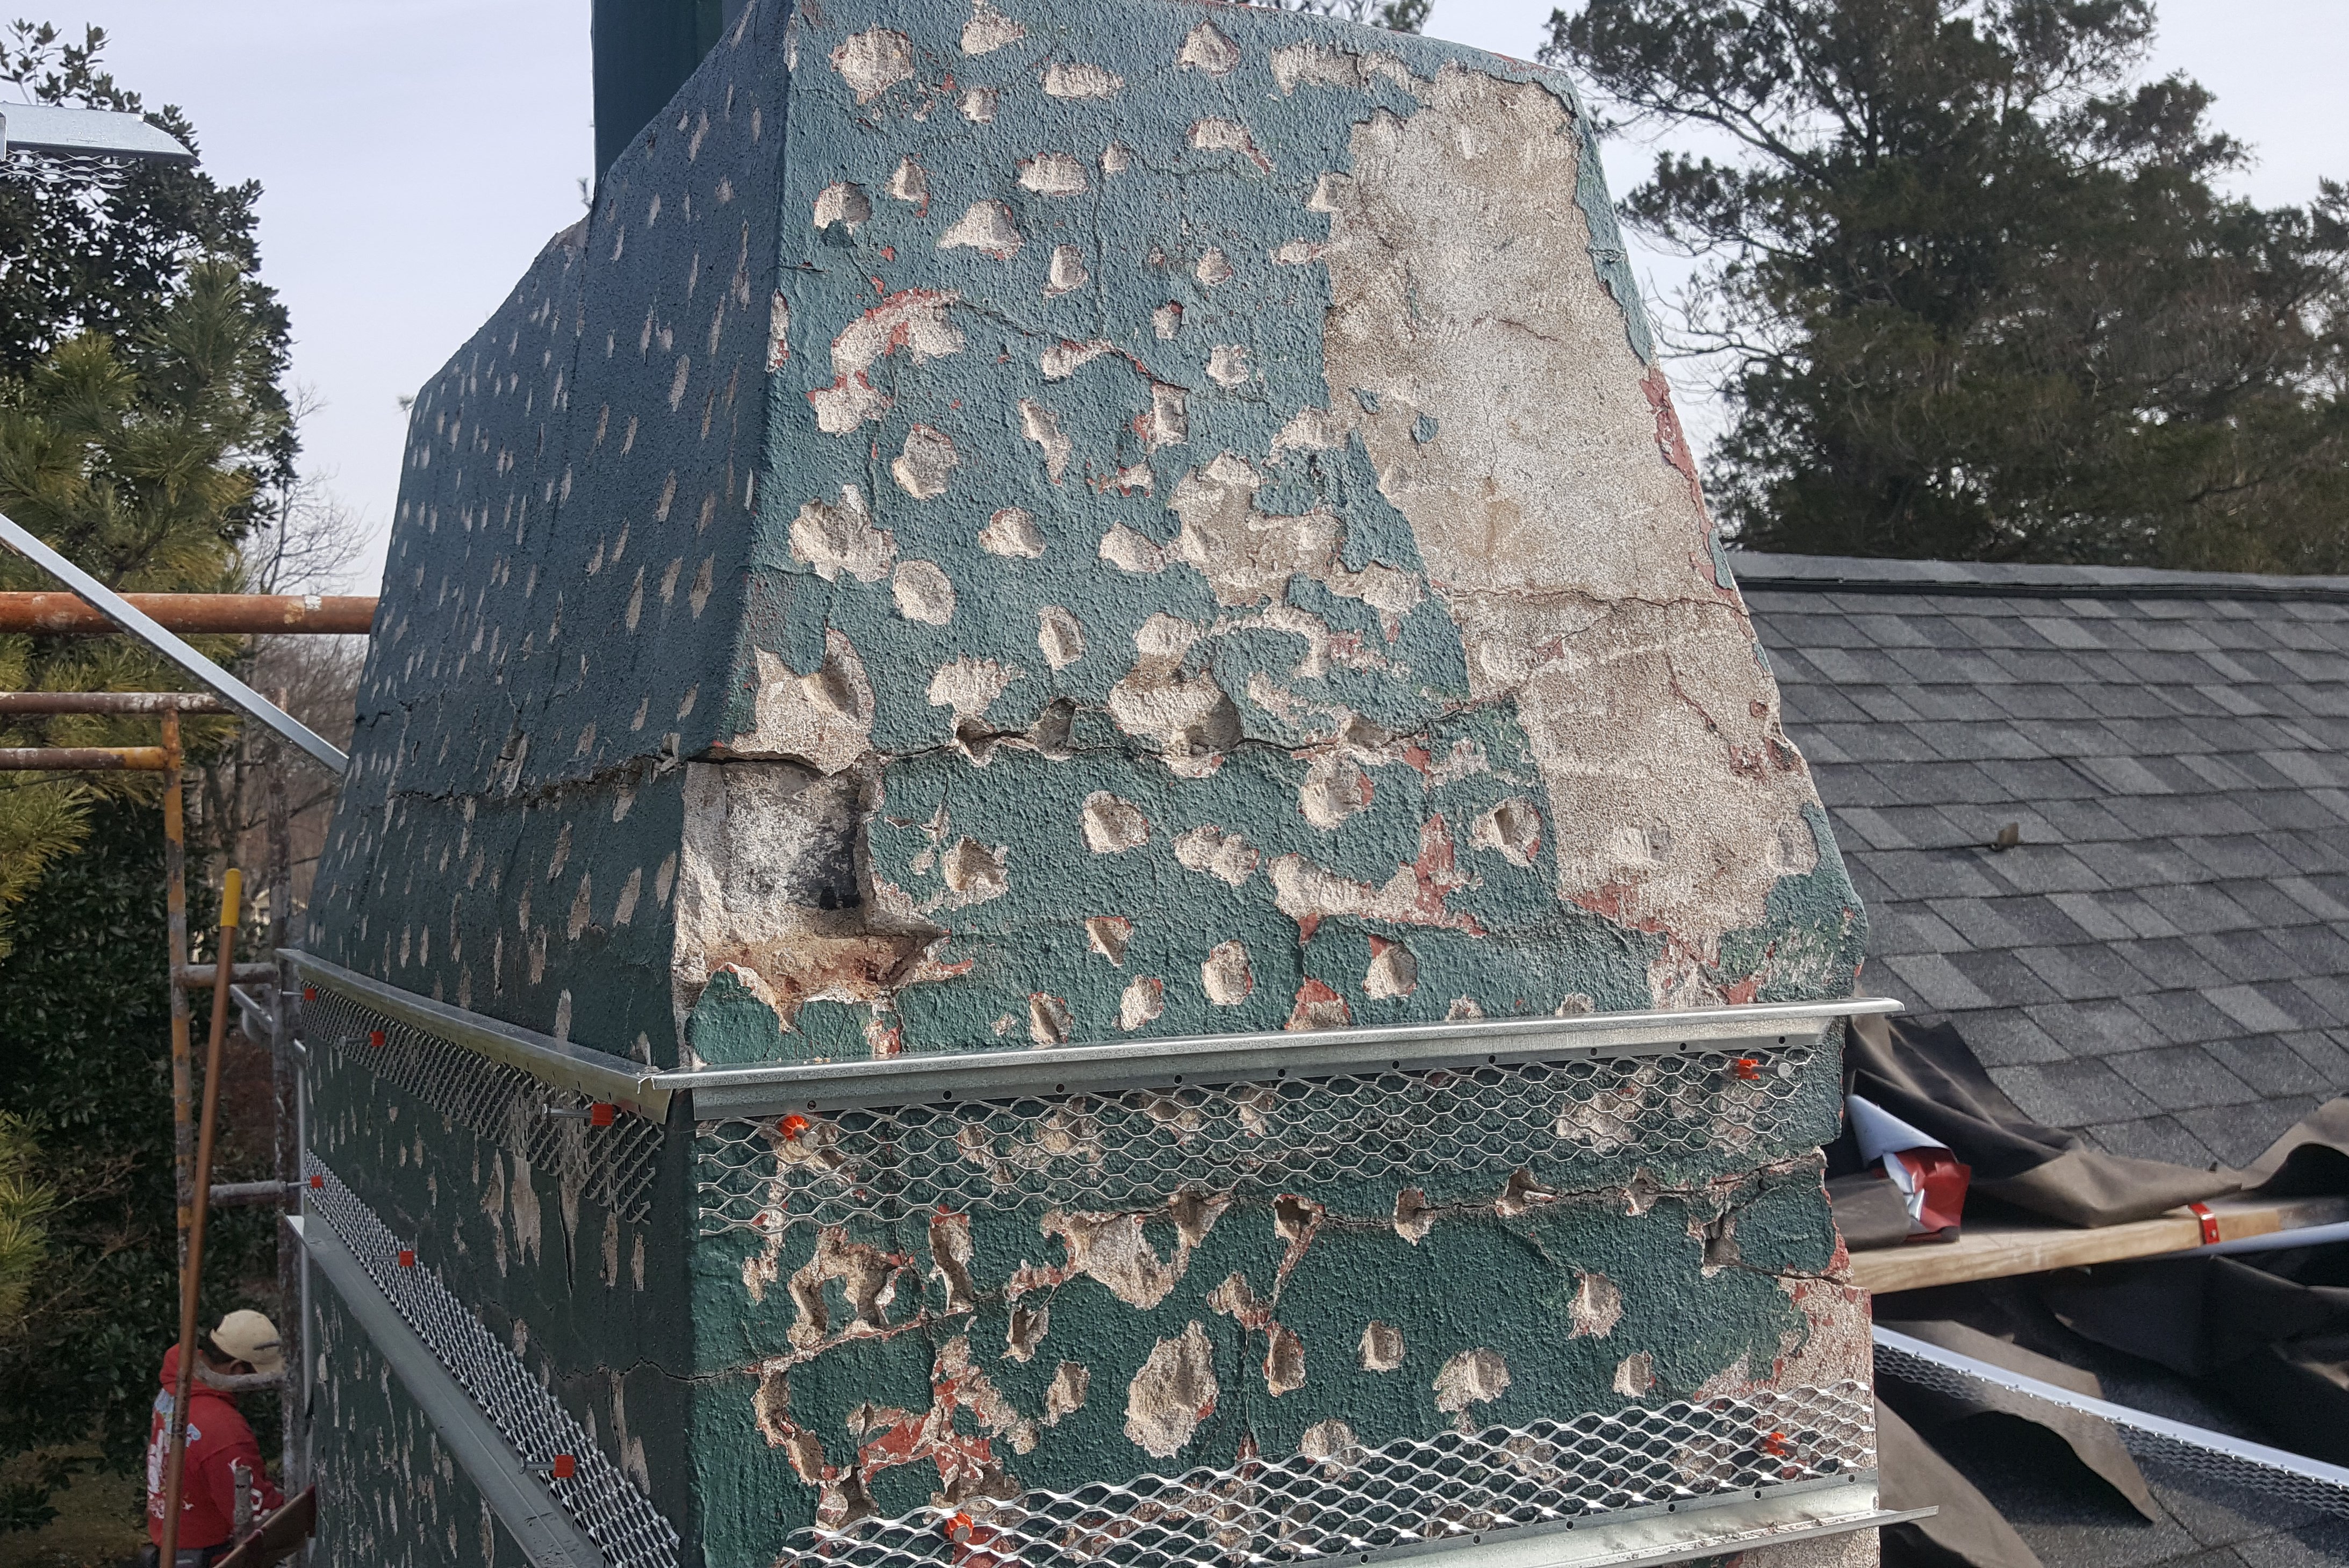
Chimneys are chipped up and prepared for a bonding coat. Bands are formed using 3/4 inch plaster stop and filled with mortar.
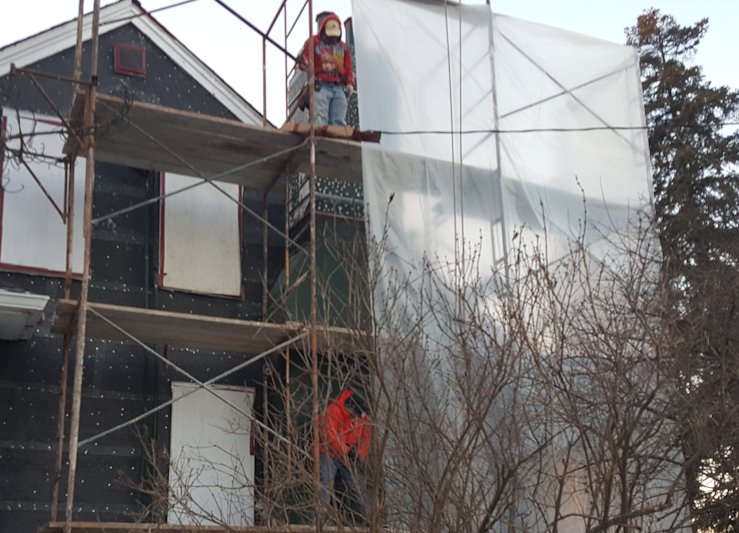
A heat tent is made using 6 mil plastic.
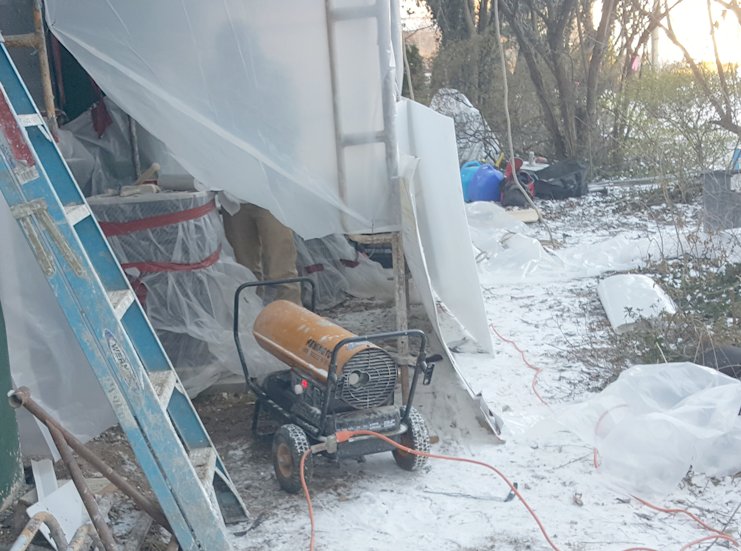
Snow on the ground, but nice and warm inside the tent.
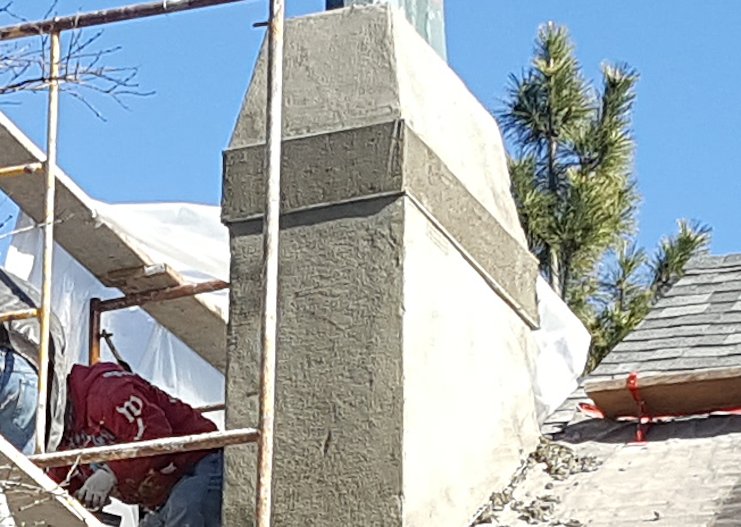
A view of the brown coat on the chimney. We put on new flashing at the roof line.

Finish coat is REAL white portland cement and REAL sand.
Looks like 1917 again.