>
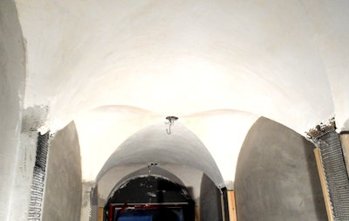
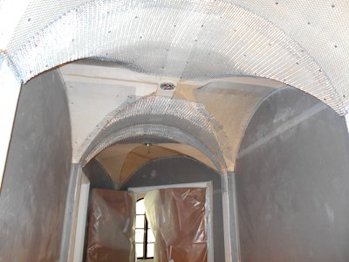
Lath and plaster gothic vault ceiling in Washington, DC
How we did a lath and plaster gothic vault ceiling.
Details:
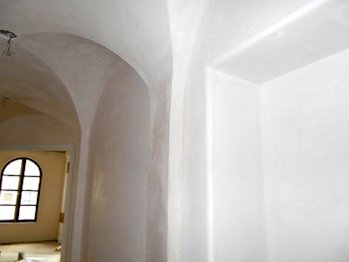
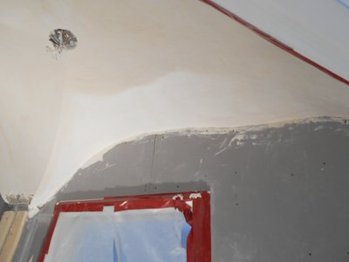
Another view
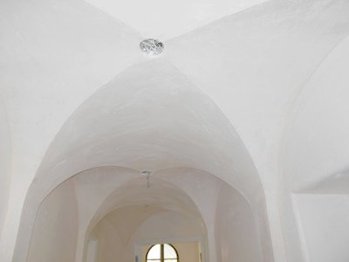
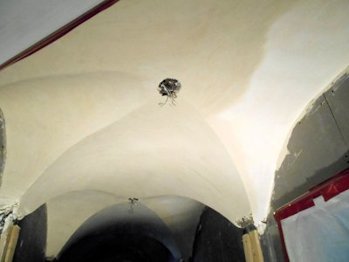
Finished ceiling and hallway with a color finish applied.
This is a small ceiling, so I could take a few short cuts. First, I marked off a one inch line all the way around the ceiling. This gives me a point of reference to straighten the ceiling. I used 2 scrap pieces of 1/2" blue board for my chalk.
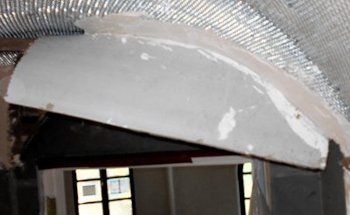
I put on my metal lath using wafer head screws. I made sure the arrises (outside corners are called arrises) were well overlapped and round.

I formed the arrises with quarter inch masonite strips cut on a table saw. I aligned the strips with the columns and the center of the lights. The strips were shimmed nice and round to a half inch thickness using 2 scraps of masonite.
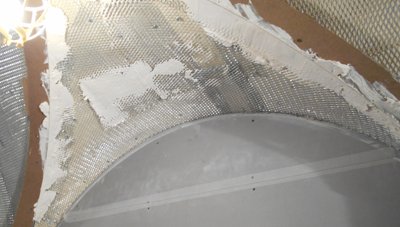
Strips were packed with white mortar, namely molding plaster and lime. I did the whole ceiling out of white mortar, like plaster moldings. It sets fast, and I could finish everything as I go.
I filled in the side sections and troweled them smooth. I set my angles (inside corners ) using the chalk mark, and filled in to the arrises using a rod (straight edge).
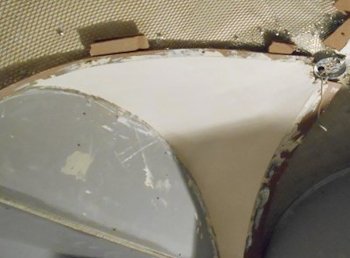
The odd ball is this oval section where the ceiling turns the corner. I screwed on a scrap piece of therma-ply to form the arris. I hope you can see what is going on.
Next, I packed in my arris between the therma ply and the lath. After the mortar set up, I took off the therma ply and I had a nice arris.
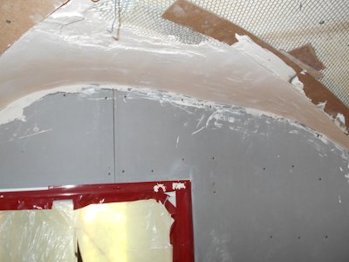
This cool "S" shape on the other side of the oval was done like the round sections.
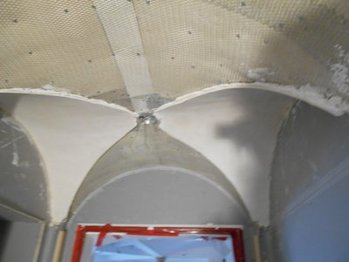
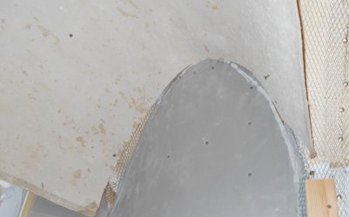
I filled in the side sections and finished them, then took off the masonite. I trued up the arrises by scraping and chipping.

Now, all I have to do is fill in my center sections. The center sections are then filled and straightened with a 6 foot rod. In the foreground, you can see the funky shape where the ceiling turns.
I filled in everything and troweled it smooth.
A view of the "S" shape across from the oval.
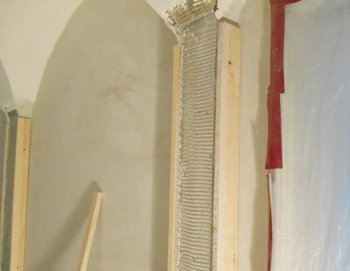
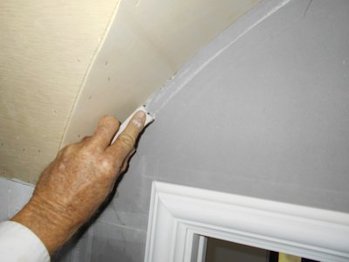
The next step was to brown coat and finish the side walls. Wood strips are used to form the arrises on the columns. We didn't want to use metal corner beads because this is color work, and I didn't want to leave the metal exposed.