 .
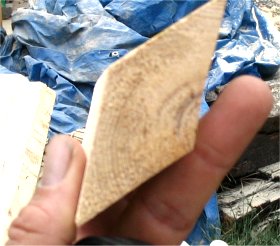
.A two by four is ripped to define the rough shape.
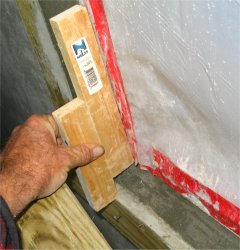
one by. Top edge is filled with mortar and
tool is slid along to form top.
grooved for a pre-cast look.
|
. |
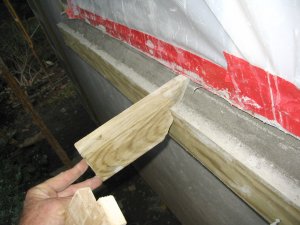
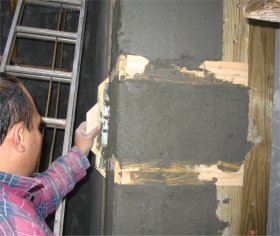
| Close up showing profile of window sill. A two by four is ripped to define the rough shape. |
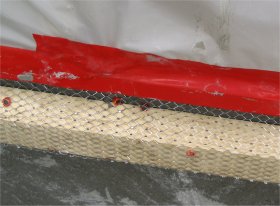
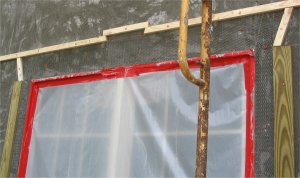
Nailer for sill put on below window and metal lath nailed on. |
|
|
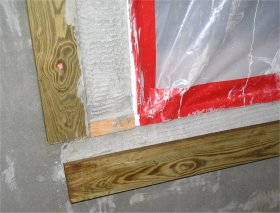
| After scratch coat on metal lath sets up, face of sill is formed by nailing up a one by four. | A gauge is made to set the height of the sill. This is done instead of holding up a framing square and a tape measure. |
|
|
| The tool we made is notched to ride on the one by. Top edge is filled with mortar and tool is slid along to form top. |
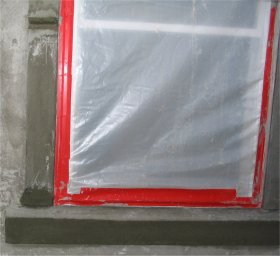
One by removed, the face side of sill filled. The
surrounds
on the
side are grooved for a pre-cast look. |
 |
 |
| If you have visited my site before, I'm sure you have seen
how we do
jack arches and keystones. The jack arch is formed by
nailing furring
strips
to the profile. This area is filled with more metal lath and mortar. |
The keystone is formed and filled after the first projection sets up. More lath is nailed up first for insurance that the mortar will never fall off, and then the keystone is filled flush with mortar. Finish coat is light grey with fine sand. |
 |
 |
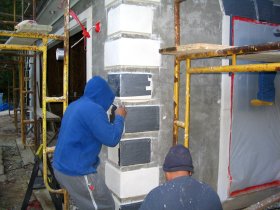
| Quoins are formed with one by fours and furring strips.
They
are then
filled with lath and mortar. Here Mynor uses a tool he made to rod the quoins. |
A simple tool is used to true up the outside corners of the quoins. |
 |
 |
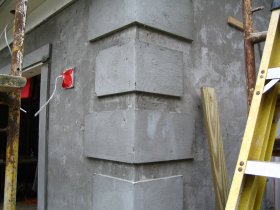
| Wood forms removed. Quoins are waiting finish coat. | Finished quoins are taped off before finish coat is applied to the rest of the wall. Duct tape is used, but it is important that the duct taped is removed as soon as the wall is finished to avoid leaving adhesive residue on the quoins. |
 |
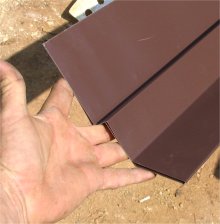 |
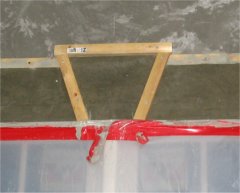
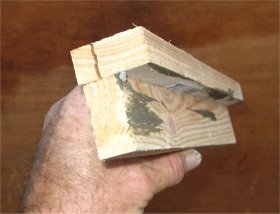
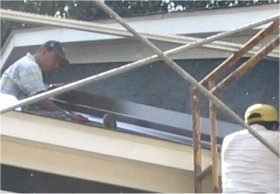
| Counter flashing is nailed over step flashing at roof intersection. This is important to prevent leaks in the future. | A profile of the counter flashing. The ledge where my middle finger is is called a stucco stop. The lath and stucco overlaps the top flange and butts to the stucco stop. For more detail about flashing roofs, click here. |