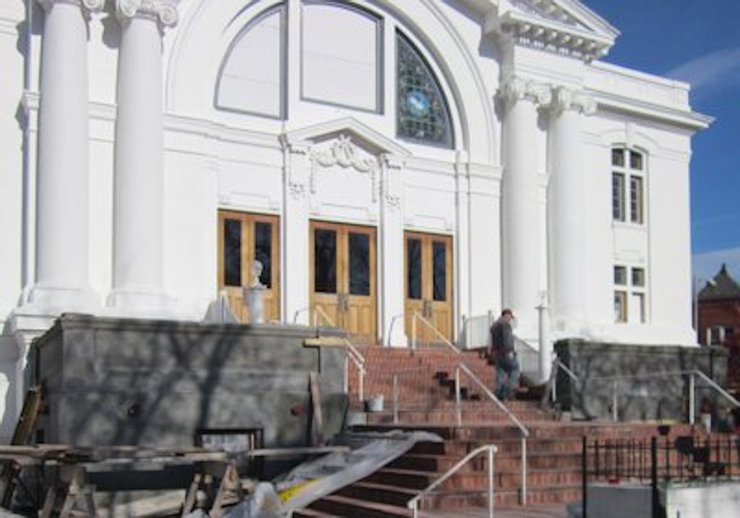
Historic renovation of Capitol Hill 7th Day Adventist Church in Washington, DC.
Stucco on balconies restored.

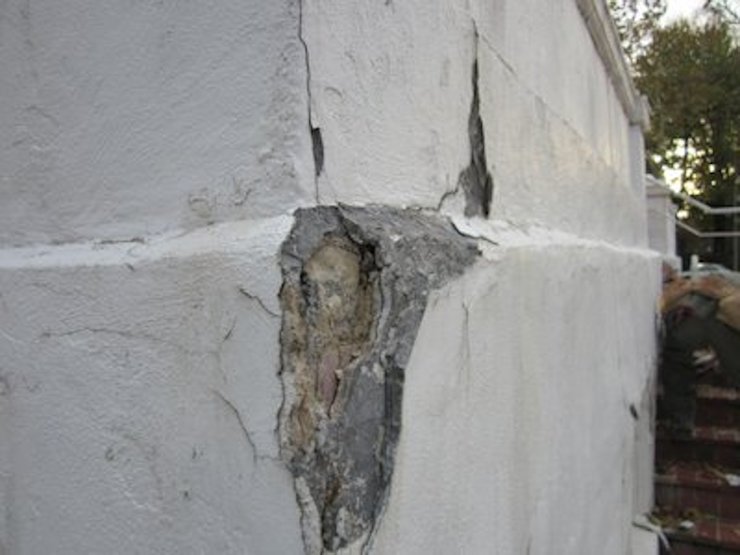
The wall on the front balcony had several
layers of patches.

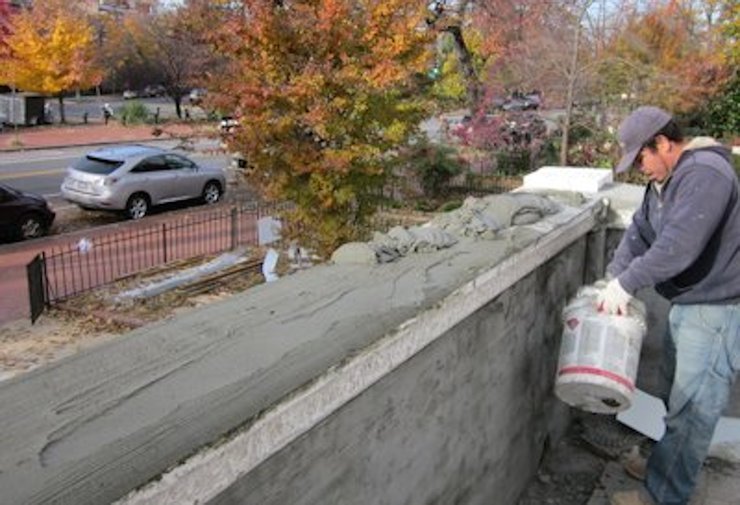
The wall in front had bowed out considerably, apparently due to water infiltrating from the patio above.

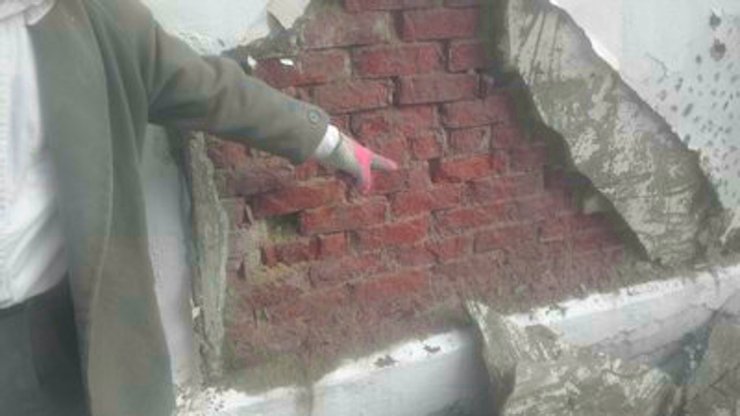
The layers of patches are torn off, revealing badly deteriorated brick below the patio level.

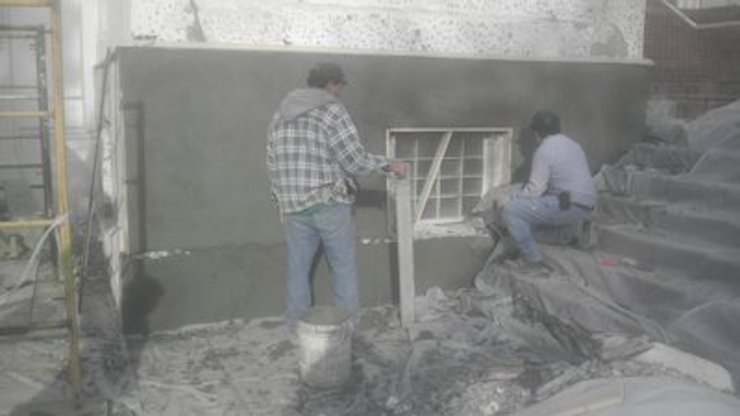
The first step is to fill in the front walls, to establish a reasonably straight line.

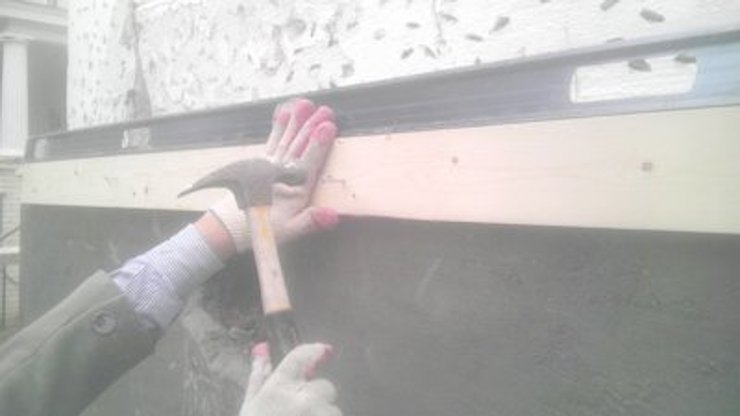
A straight line is made by using a level and nailing up a one by four. This forms the arris (outside corner) and gives us something to measure from.
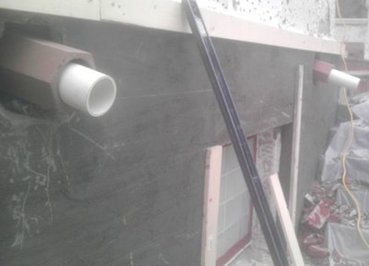
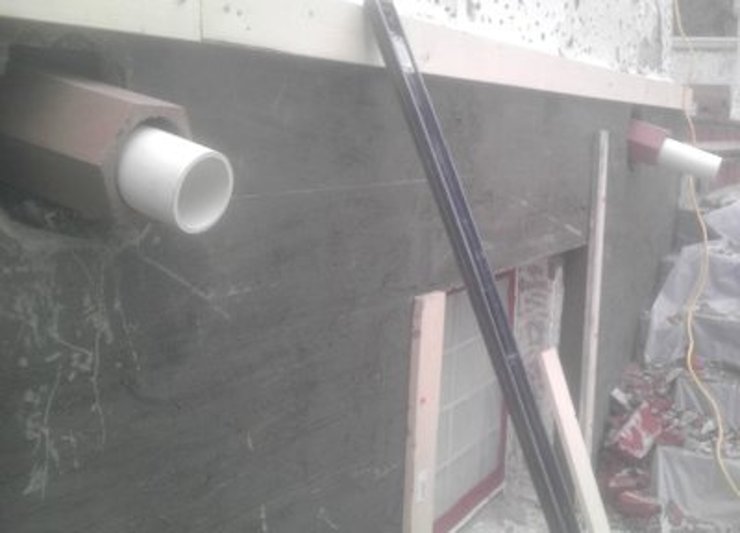
Ceramic weep tubes are put in, measuring from the one by four. The PVC pipe holds the tubes in alignment until the tubes are mortared in.
These ceramic tubes aren't historically accurate, but look like someone may have used them in 1910. They beat having the wall fall apart.
Weep tubes are mortared in and covered with tape. Note the one by to support the weep in place. The walls that are solid are chipped for re-coating.

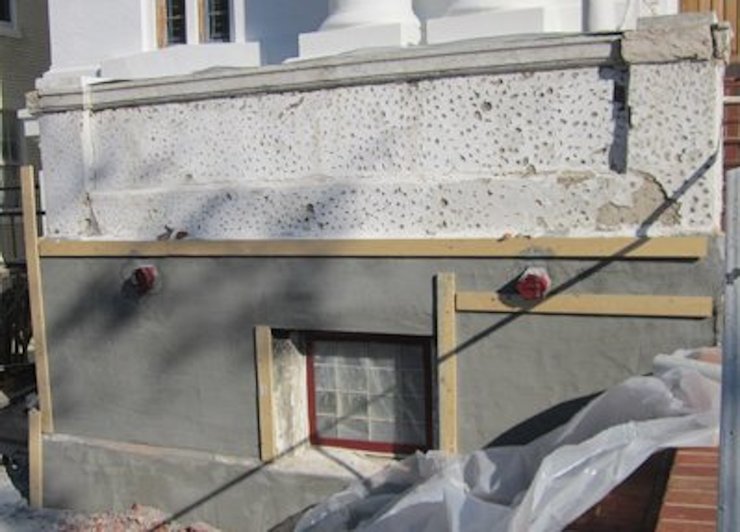
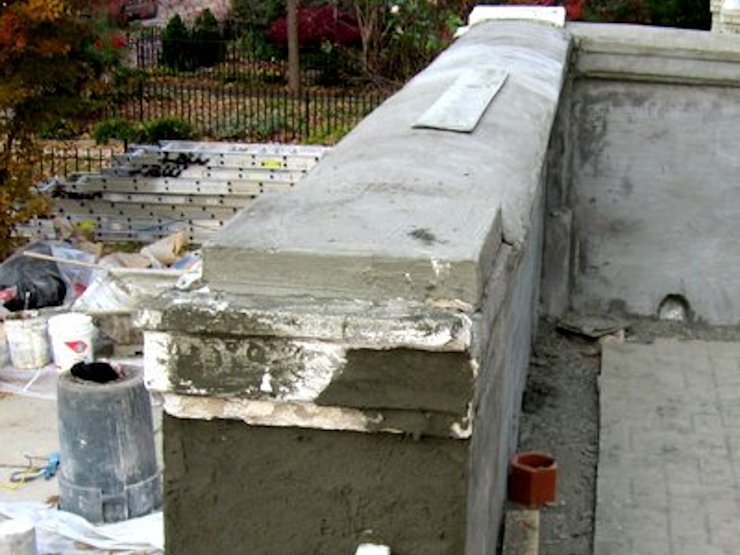
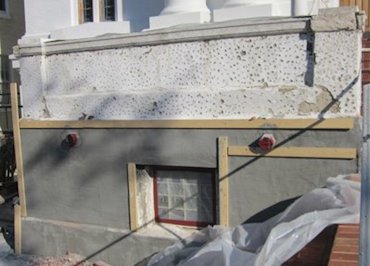
The top was badly spalled and also a source of water infiltration. Note to tops are level, which allows water to soak in.
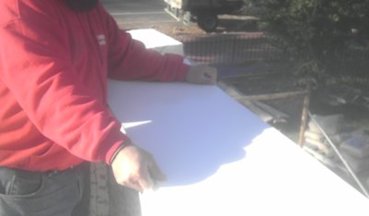
The top of the wall, or the cap is covered with aluminum coil stock.

Metal lath is put the on top. Important: We didn't nail through the top !!
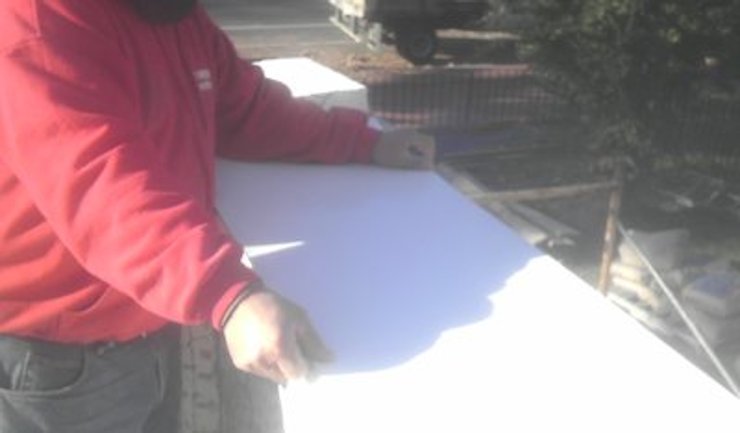
I made a tool from a bucket to round the tops off.
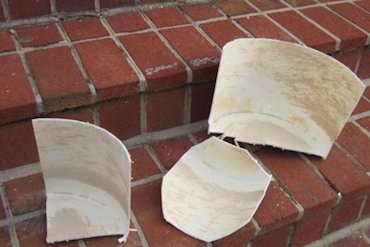
I didn't waste the rest of the bucket. I cut 4
gauging scoops like the one in the center from the bucket.

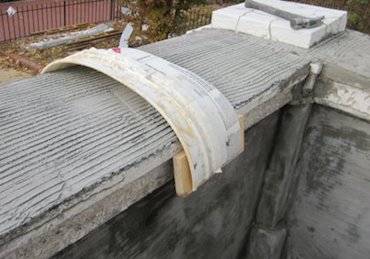
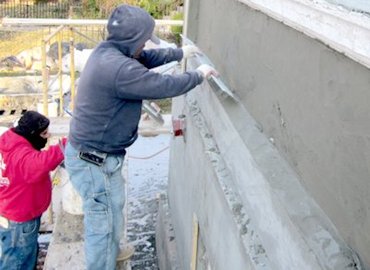
The top is filled in and formed by running the tool across.

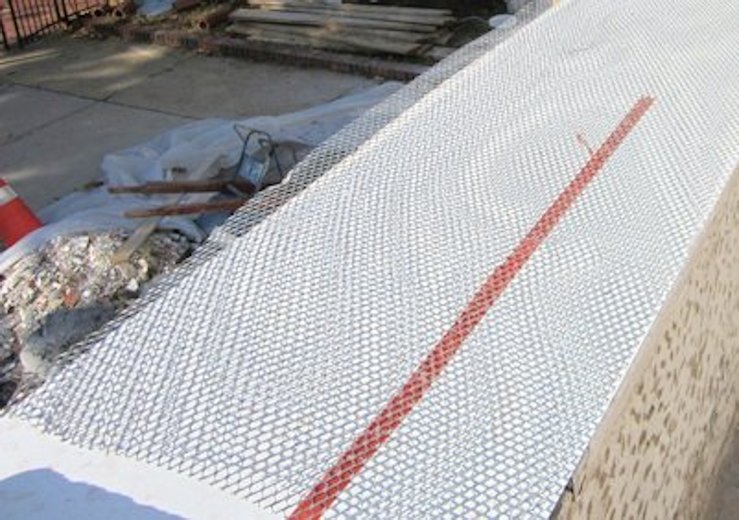
The tops are now rounded for good water run off. Underneath is metal flashing so they can't leak. We have since discovered that
rubber membranes work better than metal.
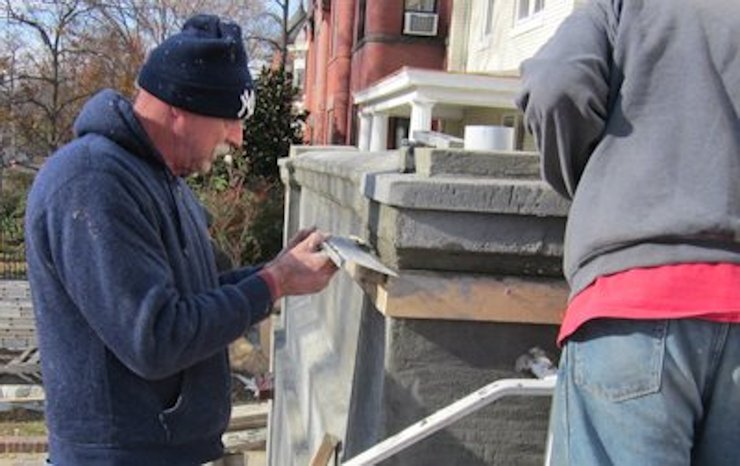
The inside panels are filled and straightened with a rod.

After the inside sets up the outside panels are formed with wood strips and filled.

The round details are formed with wood strips and sculptured with a scrap piece of weep screed.
Every step and detail was done by forming with strips and allowing each section to set up overnight before the next section.

I am waiting a week before we put on the finish coat to make sure everything sets up real good.
The finish, of course, will be REAL white cement and REAL sand. If you remember the columns we did in the last update, they are painted white to match the rest.
Please check back to see our finished product.