 |
|
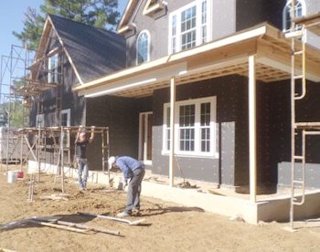
| Setting up scaffold.
|
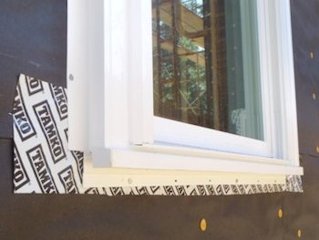
Framing under window is wrapped with a
peel and stick rubber pan flashing.
The second layer of tar paper will overlap the
window flanges.
|
 |
|
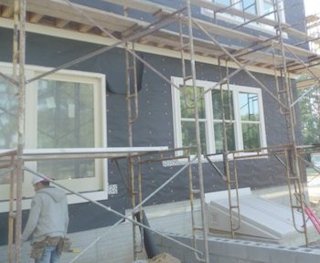
| Putting on the second layer of tar paper taking care to overlap the concrete foundation.
|
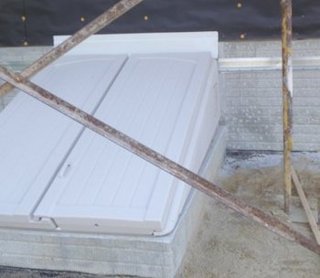
Wizard of Oz doors are flashed also.
Note the weep screed on the right: this will
define the bottom of my wall.
|
|
|
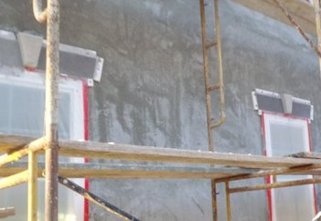
| FAST FORWARD: Self furring metal lath, 1 inch thick cement basecoat.
The brown coat is finished, now we put on the details before the finish coat.
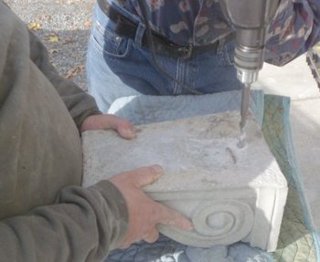
The keystones are drilled on the back and hung on bolts like a picture.
|
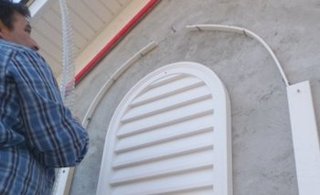
The window surrounds are formed using PVC trim.
Note the bolt over the arch to hold the keystone.
|
|
|
| The jack arches over the windows are formed
and filled and finished using a lighter gray than
the house for a contrast.
|
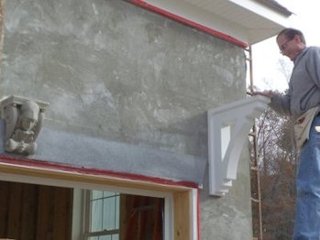
Randy puts on brackets to support a pergola.
The brackets are put on before the finish.
The two Athena's heads are over the garage doors.
|
|
|
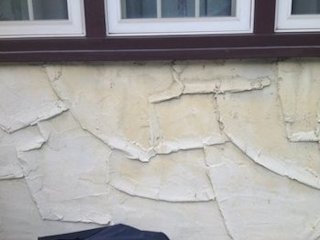
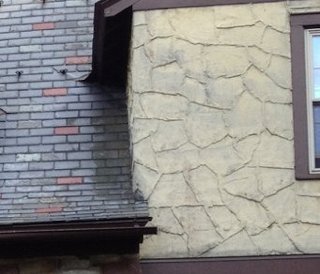
| Pictures of an old stucco house in New Jersey the
owners wanted to duplicate.
|
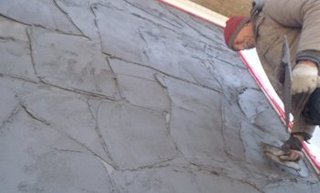
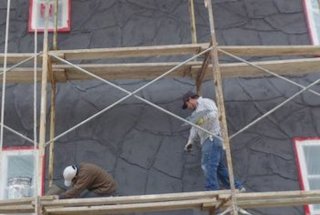
A picture of the same house. I think we got it
pretty good.
|
|
|
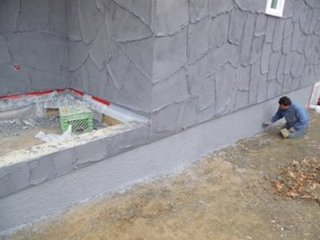
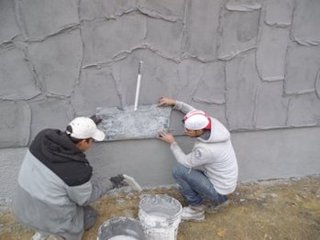
| The texture is sculptured one part at a time.
|
The finish coat is our standard mix of white
portland and white sand. The color is #70,
"smoke" from EXPO stucco, mixed 4 times
strength. The details and foundation wall
are 2X strength.
|
|
|
| The concrete foundation wall is done a little
different for contrast with the main texture.
|
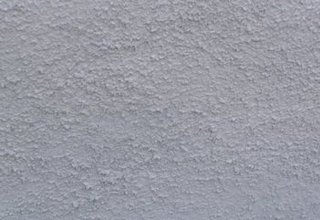
The finish is dashed on with a brush.
|
|
|
| A close up of the dash on finish.
|
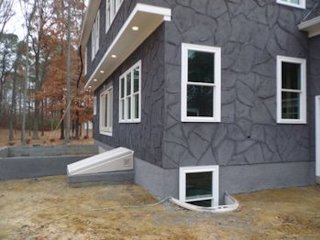
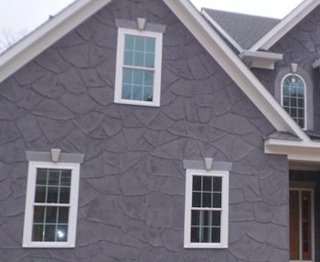
A view of the finished house.
Note that the lights are in the soffit, and not
the wall.
|
|
|
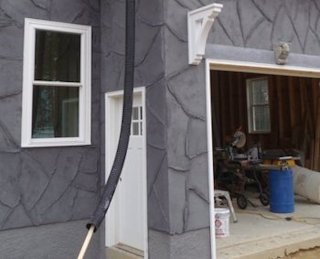
| Temporary downspouts are supported by one by fours. This prevents staining of the stucco
until the downspouts are put on.
|
Contrasting colors make the keystones pop out.
|
|
|
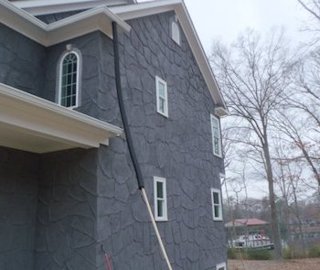
| A view of the side shows the same temporary
downspout. Note there are no ugly
expansion joints.
|
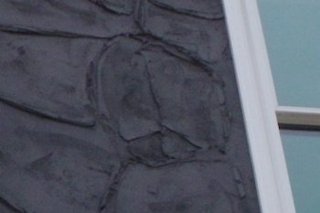
My peace sign. If I didn't tell you where it is,
you would never find it.
|


