Spanish style stucco house in Reston, Virginia
How we did it !
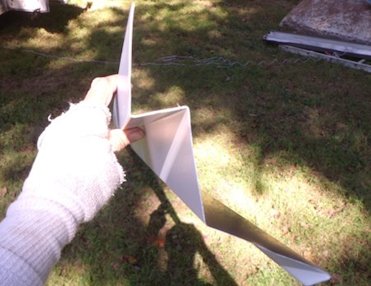
A
profile of the counter flashing we made. The stucco
stop, or ledge is made 1 inch wide. This is to hide
irregularities in the wall. Our plaster stop is 3/4" so
if there is a bump or dip in the wall and the plaster
stop sticks out past the stop on the flashing,
you'll see it
a mile away. A 1/4" reveal makes the wall look straight.
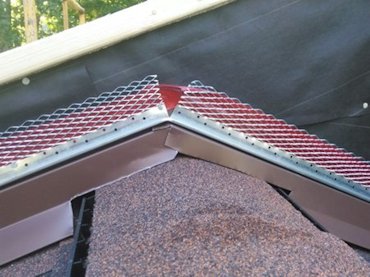
After the flashing is sealed with tape, we put on our weep stop, or weep grounds. A small gap allows water to weep out of the wall. If you are wondering, we cut off the kick on the flashing to accommodate the ridge vent on the roof.
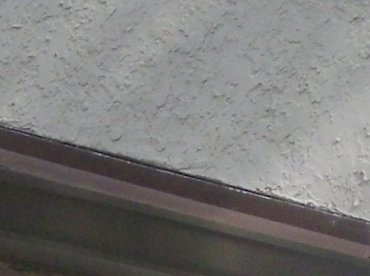
Fast forward to the finished wall. The gap allows water out of the wall. I love this Spanish texture. It reminds me of California.
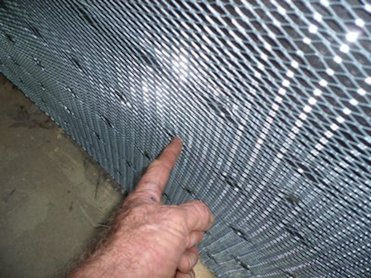
But OF COURSE, we use self furring metal lath. The dimples on the lath hold the lath out from the wall to allow plenty of mortar to get behind the lath for good support and reinforcement.
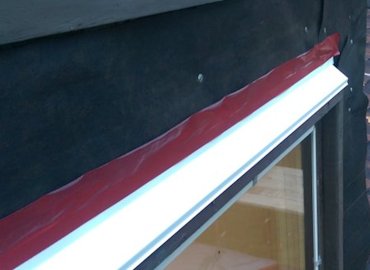
We put on flashing over the windows and doors and sealed the top with tape. This isn't Tyvek tape, but tape.
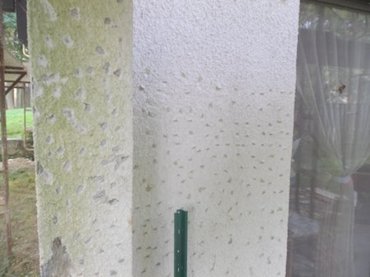
The basement level is block and the upper
levels are wood framing. We used our chipping
and bonding method to bond the new stucco on. This is
a very solid, permanent bond.
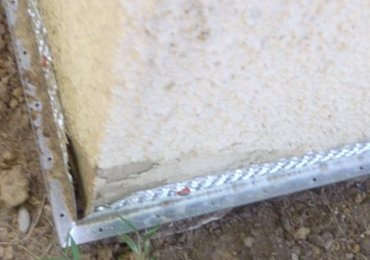
We used weep grounds everywhere.
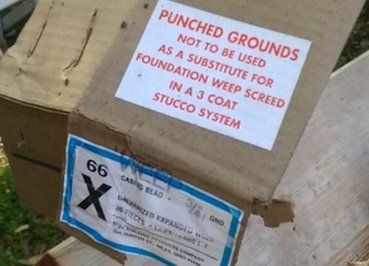
These weep grounds are great. All they are is casing bead with holes punched in them.
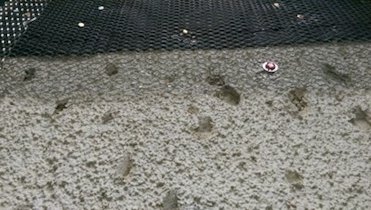
(Looking up)Tarpaper and metal lath are overlapped over the block.
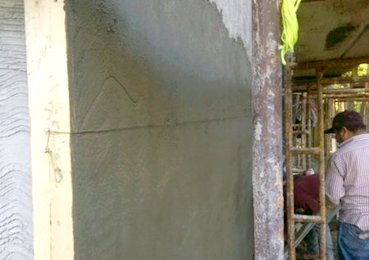
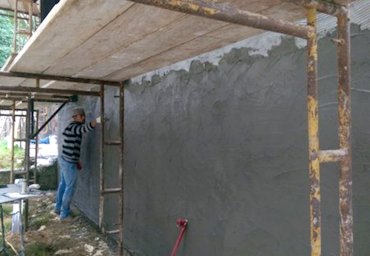
Walls are the filled in and rodded off with a 6 foot rod.
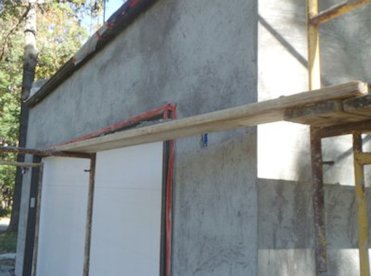
Are these walls straight ? I promise
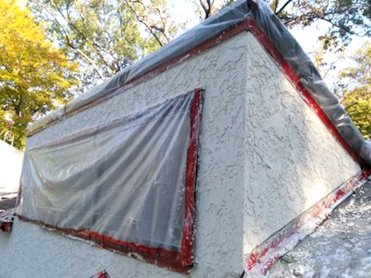
It is a lot easier to cover up than to clean up.
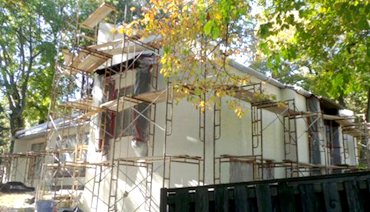
The back side of the house is finished first.
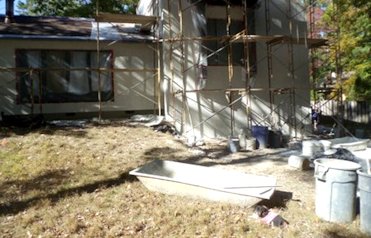
Where's Waldo ?
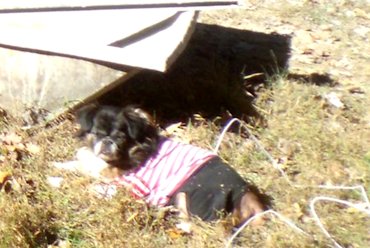
Here's Waldo, to the right of the mortar box.
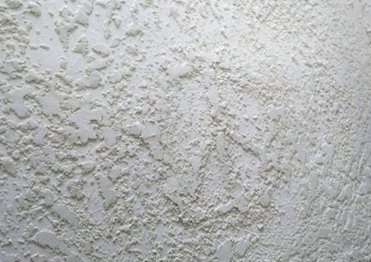
My peace symbol, hidden in the texture.
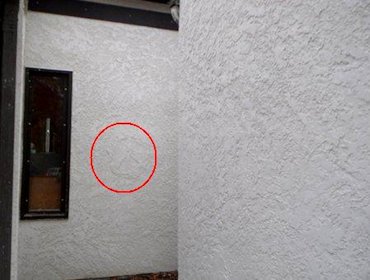
You could walk by a hundred times and never notice my peace symbol. I told you where Waldo is, so I'll tell you where my peace symbol is.
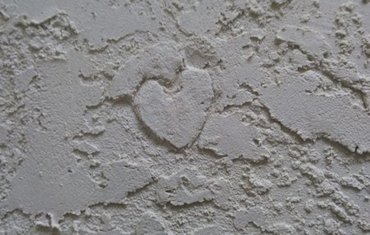
A heart hidden in the texture.
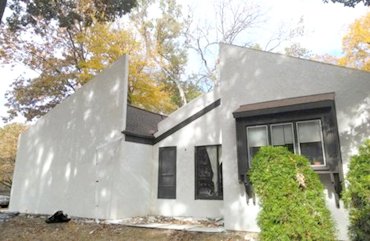
A view of the side. The finish coat is White Portland cement, lime and white sand for a true natural color.