|
|
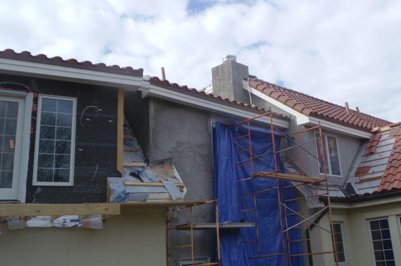
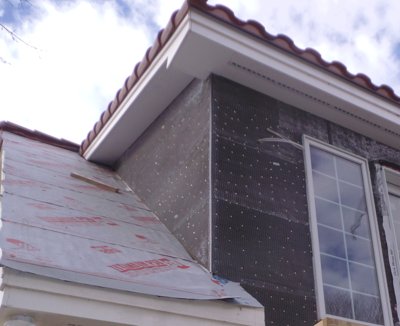
This is
how we took over the job.
There was no counter flashing and some
of the brown coat was done and some wasn't.
This was done by someone who advertizes as a
stucco contractor.
|
The tarpaper and lath weren't horrible so I figured
I wouldn't have to tear everything off and I could rescue
what was there.
|
|
|
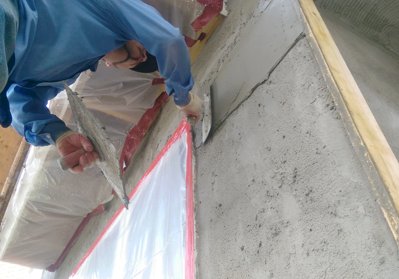
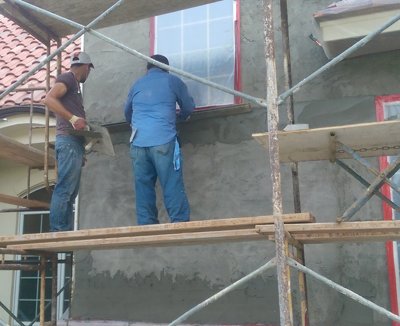
We coated
what was there with portland cement mortar using a
chemical admixture.
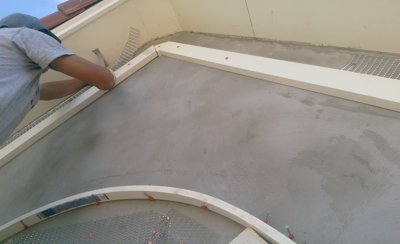
The wall is straightened by using a one by four
on the outside corner.
|
Screeds are
set every 6 feet to straighten the wall.
|
|
|
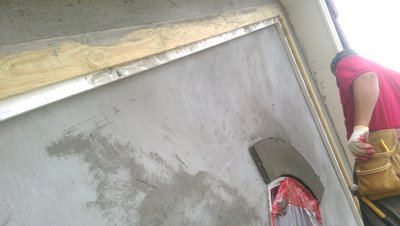
These top molding boards
are really nice.
The original house has styrofoam, which we duplicated
using cement mortar. Case met me halfway here by sending
carpenters to set the lumber.
First, 5 quarter board is nailed up. We filled the
first step of the band with metal lath and mortar.
|
The second
step of the band is formed with
one by fours and filled the same way.
The result is a durable stucco band that matches the old
house.
Note the form removed from the arch.
|
|
|
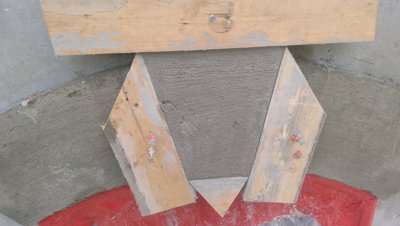
I just wanted to show my triangle trick
for the bottom of the keystone. The triangle is cut
4" wideand wedged in place. There is nothing here
to nail to.
|
We put on a synthetic finish, our third
job we have done with synthetics. I much prefer a
real natural cement finish, but work is work. The
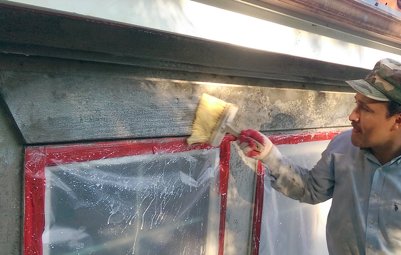
color matched and texture very close. A trick for
killing the suction: That is, the brown coat absorbs water
rapidly not giving any time to finish. The wall is first
sealed using a solution of 25% flex-con with water.
|
|
|
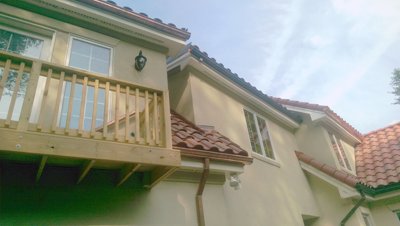
The back side finished. Look any better ?
the brown coat was cut off and copper flashing put
on the substrate before the stucco. This will never leak,
I promise.
|
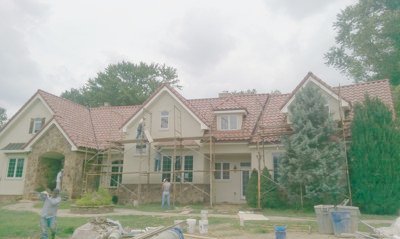
Taking down the scaffold. We had a tight
deadline here and worked long hours and got it done.
|


