Stucco chimney in
Fairfax, Virginia
If you have seen how we do our chimneys before, you may find this page boring and redundant.
If so, click here to go back to August
2018.
I would like to cover the 3 main places chimneys leak and fail:
1. The crown, or the cap, that is, the very top.
2. The flashing, or the metal that joins the chimney with the roof.
3. The shoulder, or the angled area where the chimney goes from wide to narrow.
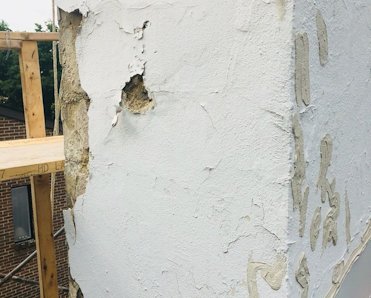
Top section of chimney was badly deteriorated.
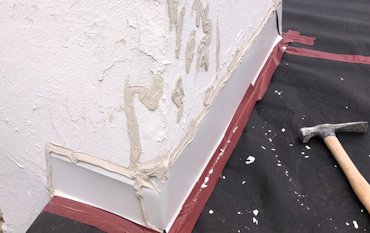
Flashing leaked real bad. Note how the flashing is over the stucco and not behind the stucco.
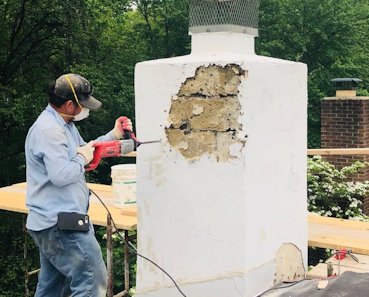
Deteriorated stucco is torn off deteriorated block.
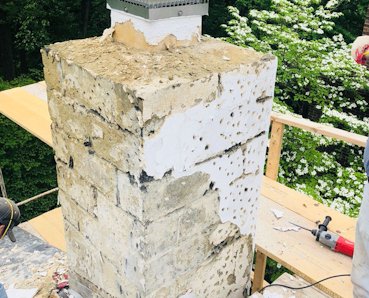
Crown on top of this 1972 chimney is soft and porous, leading to the failure of the stucco.
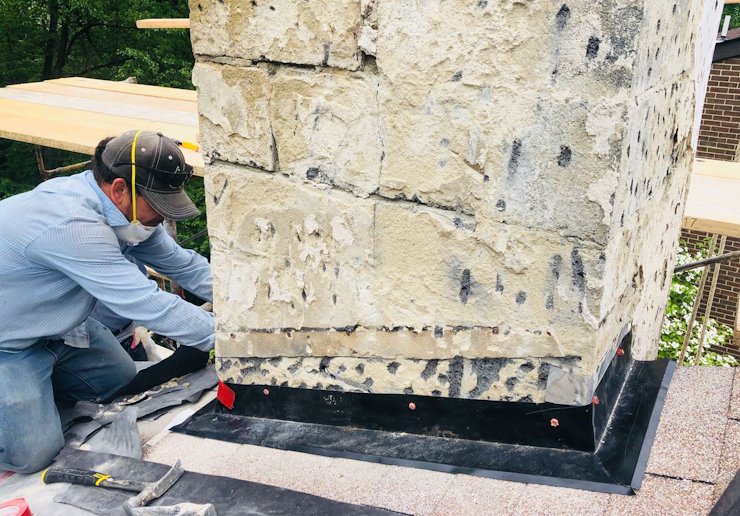
New counter flashing is put on and nailed to the block.
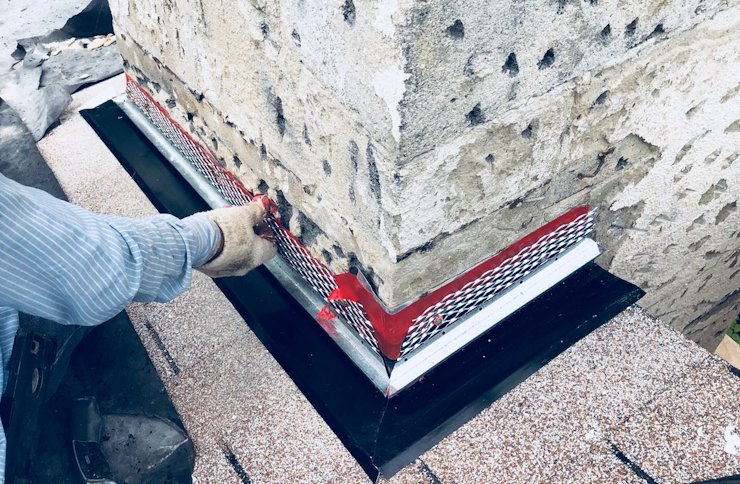
Top of flashing is sealed with tape and overlapped with 3/4" plaster stop.
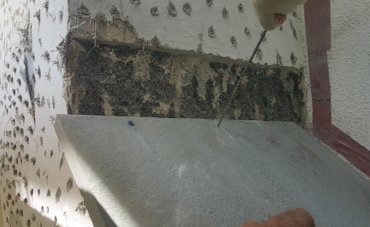
Flagstone for the shoulder is drilled for bolts. Note how the stucco is cut off a few inches above
the shoulder for flashing.
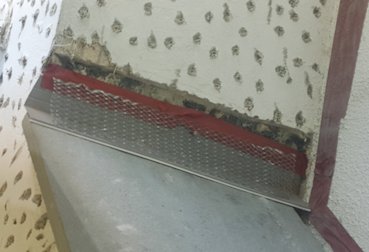
Bolts are covered with flashing. Flashing is taped to the block and covered with metal lath.
Note how the chimney is chipped and prepared for a bonding coat.
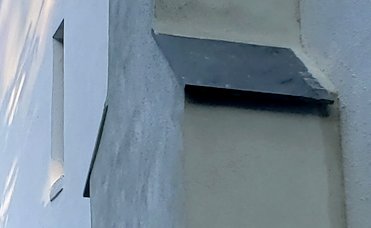
Finished chimney showing the shoulders. Finish coat covers the flashing. Flagstone is a far more reliable material
than stucco or brick.
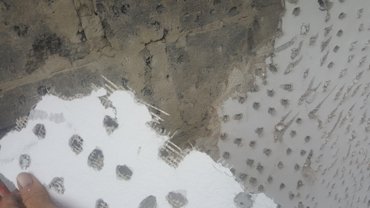
Some woefully misguided person put EIFS mesh and EIFS basecoat and finish
over the painted stucco. This mostly was peeled off easily. What didn't come off had holes chipped in it
back to the block.
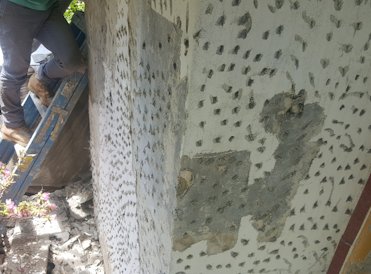
Loose areas are knocked off. The rest was chipped every 3 or 4 inches.
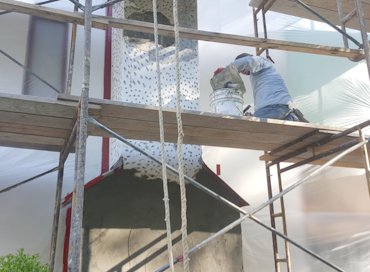
Scratch coat is put on with plenty of Flex-con, a bonding adhesive, in the mortar. This is never coming off.
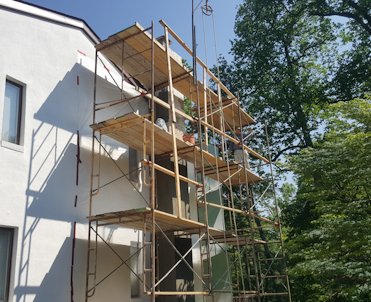
A view of the scaffold.
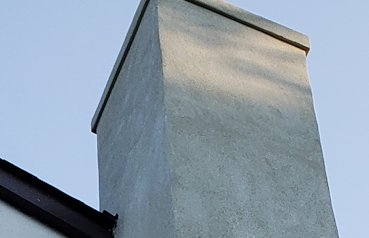
A solid cement band is added to the top of the chimney. The band acts as a drip edge, extending the life of the chimney.
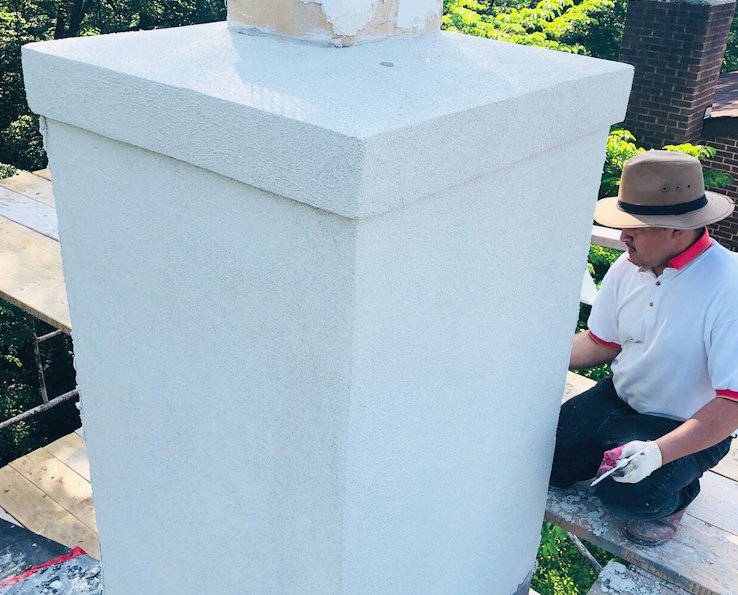
Finish coat is white portland cement, white lime, and white sand.
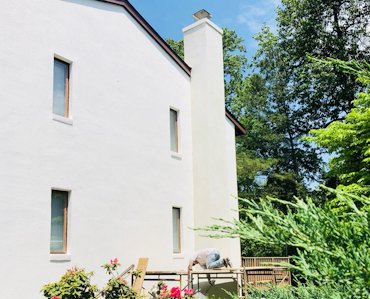
Chimney should last a lot longer this time.


