Alexandria Virginia
for Finn Construction
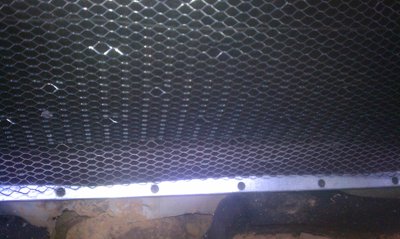
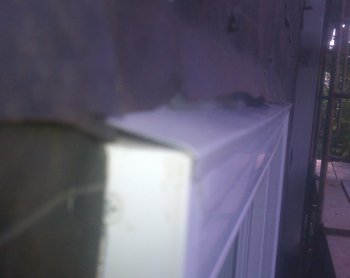
drainage, overlapped with 2 layers of tar paper and
self furring metal lath.
and the back side flange is overlapped with tar paper.
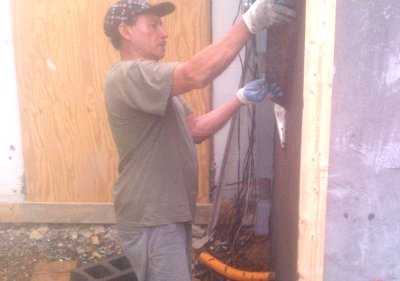
is rodded off.
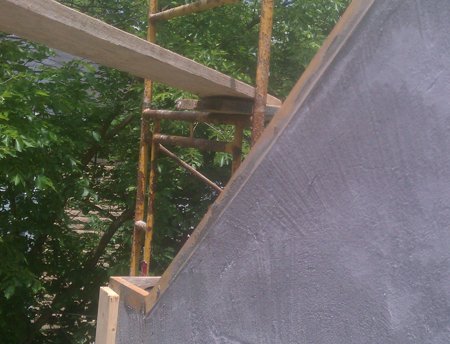
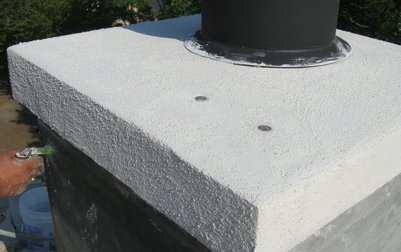
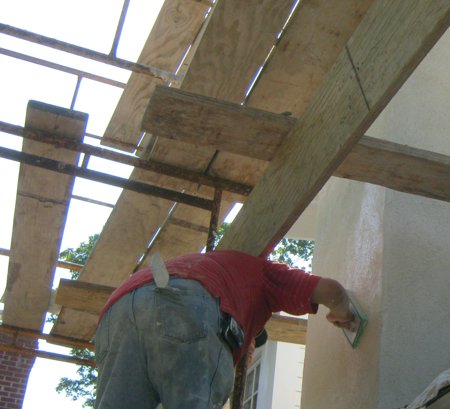
Brown coat is applied and rodded off. The ground
serves as a nailer for the coping (the flashing at the top
of a parapet wall).
Without this nailer,the coping would have to be nailed
through the stucco, leaving a dented up mess.
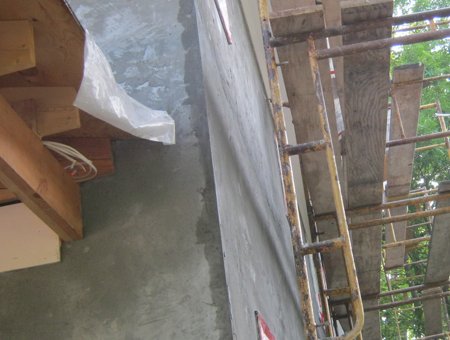
A counter flashing was put on at the roof line FIRST.
The tar paper and stucco overlaps the counter flashing,
and later the metal roof is put on. You may have
how we do this before. The roof WILL LEAK if this
isn't done.
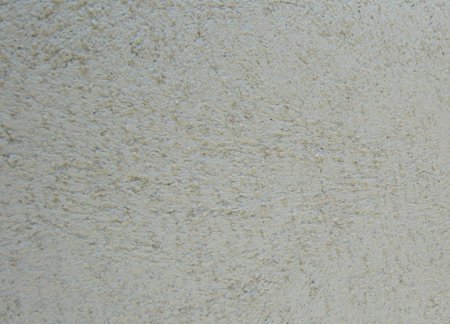
coarse sand blasting sand.
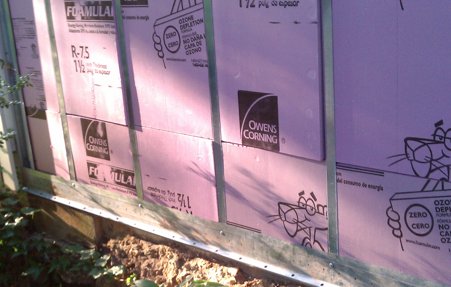
Here is a block wall furred with Z-furring 16"
O.C. with 1-1/2" foam insulation. I have been wanting
to do this for years, but finally have a job to do it on.
More about this on the next update.