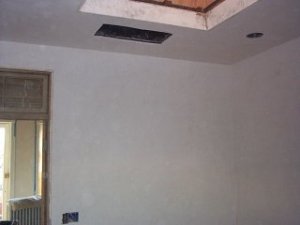
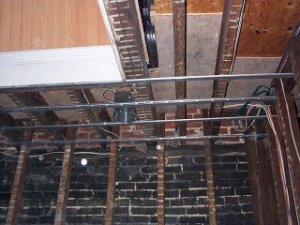
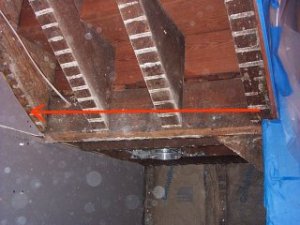
The old joists are real crooked and hard.
The channel straightens the ceiling most of the way, and provides a suitable surface to
attach the blue board to.
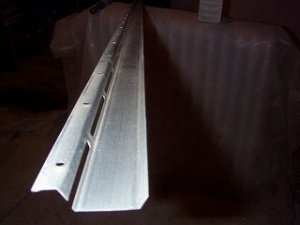
The allows the channel to flex and take
the waves out of the ceiling, at least halfway.
It only need to be attached every 48 inches,
allowing us to skip screwing to the joists that are too high.
It was originally made for sound resistance in apartment buildings. It works great for old ceiling joists.
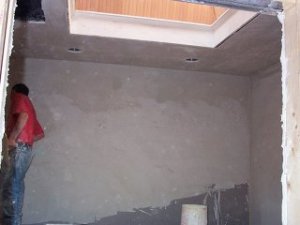
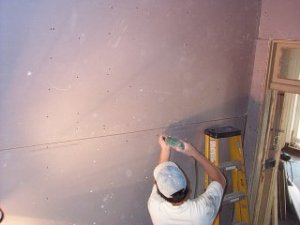
to the blue board. Blue board is like
sheetrock, but is made for a base for
veneer plaster.
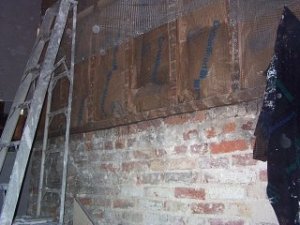
There wasn't any room for framing and blueboard.
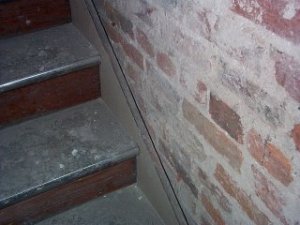
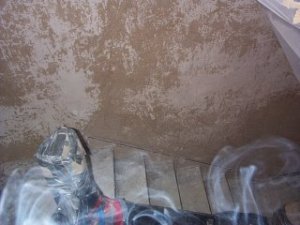
We put metal lath on the wood framing and
plastered directly on the brick to maintain
the original thickness.
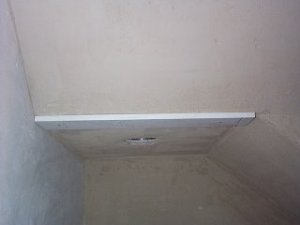
wood trim.
on the arrises (outside corners). This gives
us a straight line to white coat to.
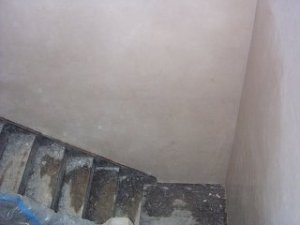
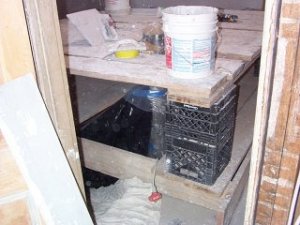
behind the stringer, like it did originally.
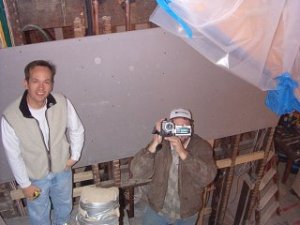
Tim is going to put the cabinets in the kitchen.
We have a long way to go here.
We're waiting for the hangers to put up
the blue board in the rest of the house.