New stucco house in
Marshall, Virginia
Here's how we did it:
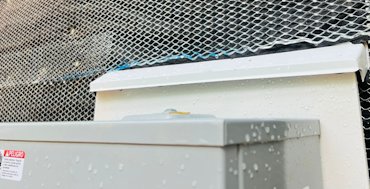
Electrical panel is mounted on a pvc board. We put our angled flashing over the top.
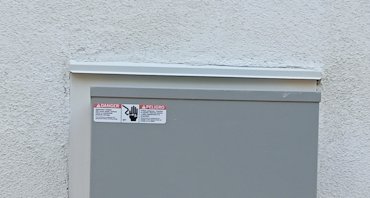
This method prevents water from getting behind the panel and rotting the sheathing.
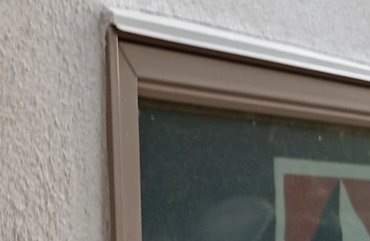
What I need say here is that Andersen windows need piece of flashing on top
angled down to prevent water damage. Andersen even sells an angled flashing with a matching color that you can order
and is shipped in a mailing tube. Since these windows are really made to have wood trim,
this isn't mentioned in the instructions.
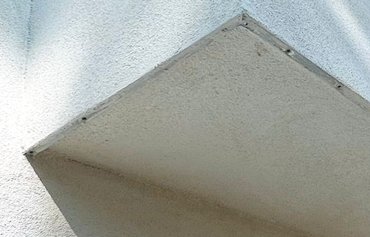
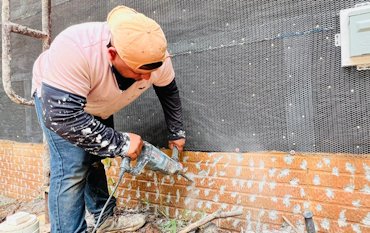
How we covered the fake brick concrete foundation. First, the concrete is chipped up using a chipping hammer.
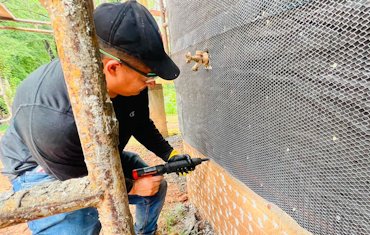
Tar paper overlaps foundation. This prevents any water that may seep in from sitting on top
of the concrete rotting the bottom stud, or entering the basement. Metal lath overlaps the edge of the tar paper. The lath is secured to the concrete with a Ramset pistol.
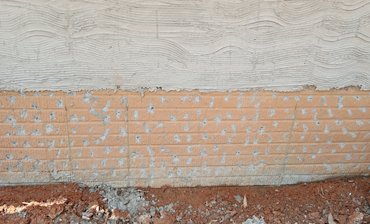
Metal lath is scratched with our regular mortar.
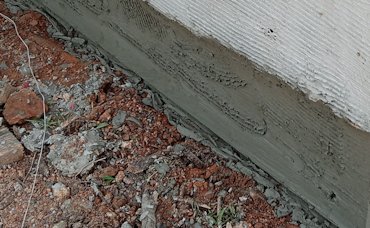
The concrete is scratched using flex con, an acrylic bonding admixture in the mortar. A screed is set at the bottom. The screed is a strip of mortar set with a string line. The screed is set around the house 3/4" from the wall thickness.
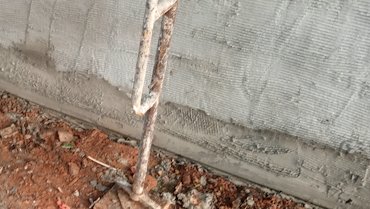
Another view of the screed.
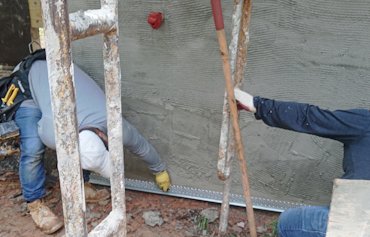
Our casing bead with weep holes is nailed to the screed after the mortar sets overnight.
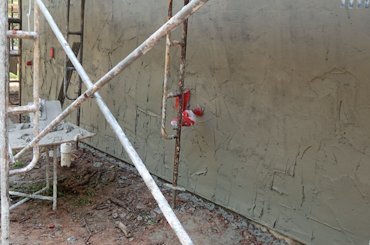
The walls are filled in and rodded off. Now we have a drainage gap and weep at the bottom.
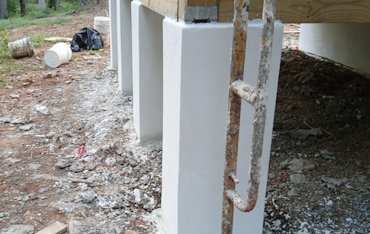
We stuccoed over the parging on the piers.
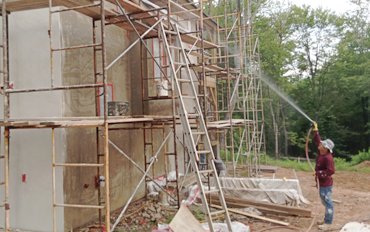
The brown coat is hosed down before we put on the finish. In fact, the brown coat was hosed down twice a day for four days before we put on the finish. Wetting the brown coat like this makes for a super hard wall.
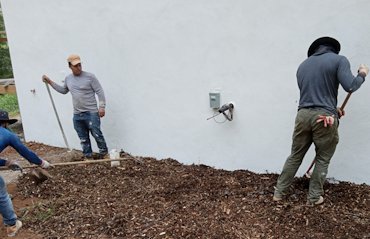
Wood chips are spread out. This prevents the wall getting splattered with mud. White cement mortar
stains easily.
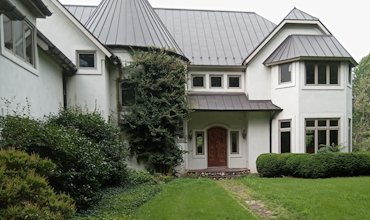
We matched the white portland and sand finish on the main house which was done
many years ago.
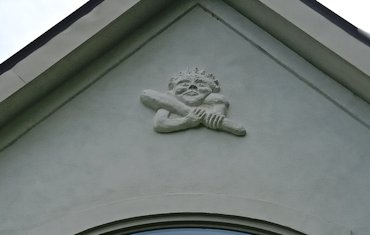
A whimsical sculpture on the gable is also white cement and white sand.
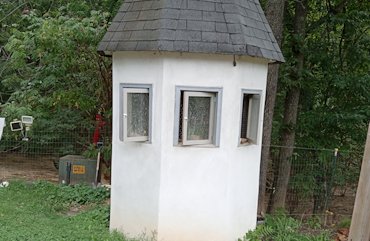
Even the chicken house is stucco.
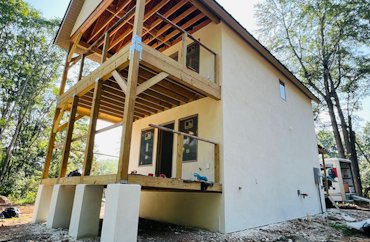
Another finished project. Come back again.


