 |
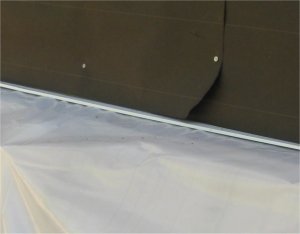 |
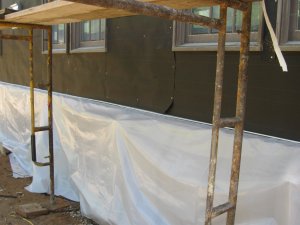
| Stone water table at bottom covered with
plastic. Flashing
and tar paper put on. |
Flashing over stone is pre-bent window cap
from Home Cheapo.
Tar paper overlaps flashing. Tar paper is put on starting
from the bottom
up. Flashing is later covered with mortar by a "wash". See
below |
 |
 |
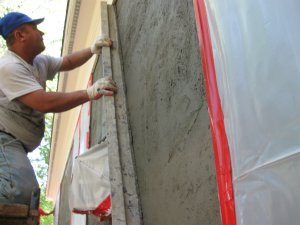
| Mynor rods of brown coat. |
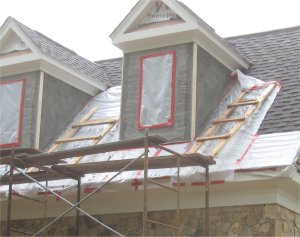
A view of how we scaffolded the dormers with
home made ladders. The ladders are nailed to the scaffold
for safety. |
 |
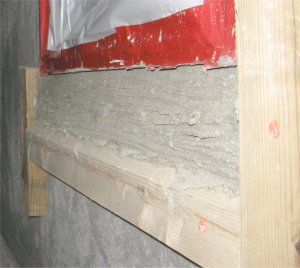 |
Sills are solid mortar and are my design, which you may
have seen before.
Bottom edge is angled down toward the front to provide a
drip
edge so water doesn't rum back to the wall. |
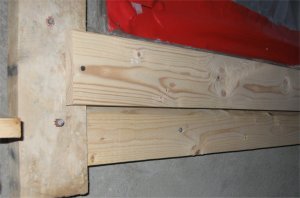
Angle at bottom is made by ripping a 2 by
four at an angle
for a form. 2 by forms are nailed on. Inside of sill have
another layer
of metal lath nailed on and a scratch coat of mortar
applied. |
 |
 |
After scratch coat sets up overnight, a
one by
four form is screw attached to the side forms.
The screws allow for easy disassembly. |
The top is filled with mortar. Form is tapped to
allow mortar to settle all the way to the bottom, preventing
voids
and air pockets. Here, excess mortar is struck off. |
 |
 |
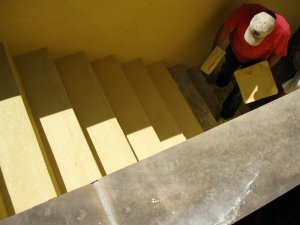
| Fake brick cast concrete stairway is stuccoed to match
house. You may
have seen our method for doing this before. |
Scratch coat is applied to concrete with plenty of
flex-con in the
mortar. Flex-con
is an acrylic bonder. |
 |
 |
Color cement stucco finish is applied to stairs
also. |
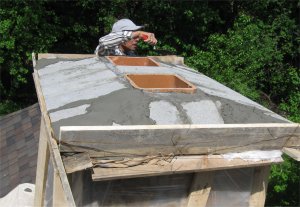
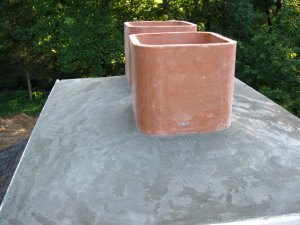
Chimney cap is made with solid 4 inch blocks.
Blocks are temporarily supported with wood and wire.
Unfortunately,
flues are buried by the
blocks, requiring extensions. |
 |
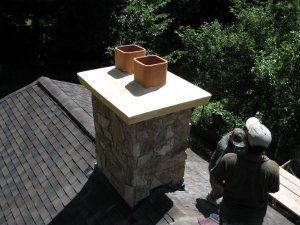 |
I extended the flues by cutting a stock 24" flue in half,
giving me
2 twelve inch extensions.
Flues are mortared in and top is sculptured nice and round
for good
water run-off. |
Looks nice, huh? Mainly, the drip cap sheds water away
from the chimney,
extending it's life.
Yellow finish coat applied with Jefferson dollars
embedded in the finish. |
 |
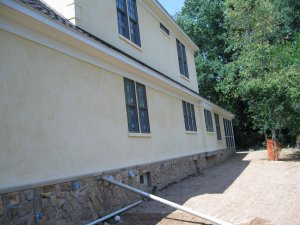 |
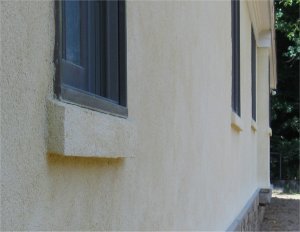
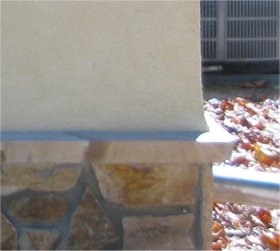
A view of the wash, or curved area at the bottom. The
reason for the
wash:
1. Curve diverts water away from the wall.
2. The thicker area better seals the joint at the
stone sill.
3. Covers the metal flashing we put at the bottom.
4. The curve makes it obvious this is REAL stucco and not
synthetic
garbage. |
A view of the finished side. Stucco has a
seamless appearance,
easy on the eyes,
durable and practical. |


