 .
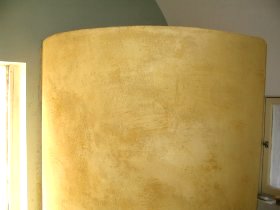
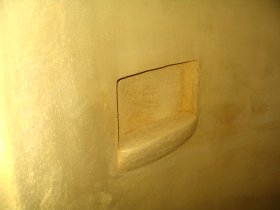
.The top was left flat in case someone wanted to use it for a shelf;
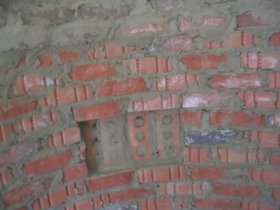
prior to plastering.
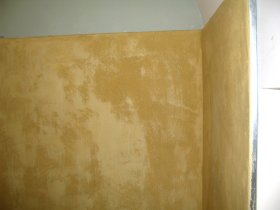
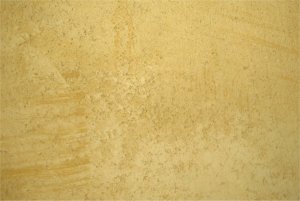
Random texture and color differences add
movement and depth to the completed work.
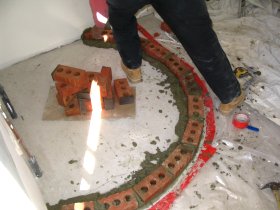
concrete floor.
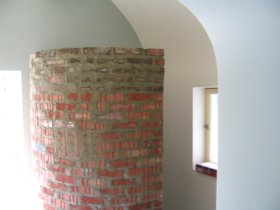
require bracing to the ceiling. Bricks allowed a free standing wall. Also, mortar bonds well to the brick.
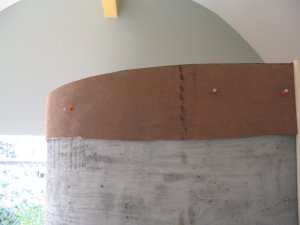
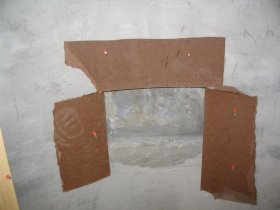
top is formed with strips of masonite.
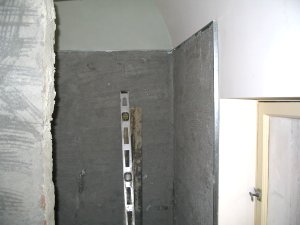
I like using hilti pins instead of masonry nails.
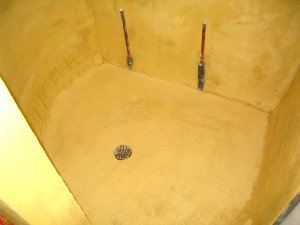
awaiting the finish coat.
painted with a rubbery membrane material.
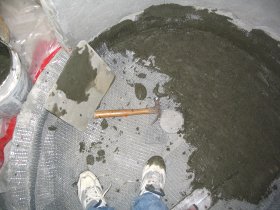
Here I put down metal lath and I am plastering the floor.
because it drags random pits and irregularities. I hope to more of these showers in the future