|
|
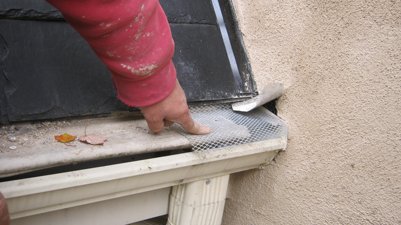
Sometimes
these
gutter
helmets cause water funnels. A hole is cut in the gutter
helmet and covered with a lath type gutter guard. This allows water to
enter from the kick out flashing. The downspout on the right indicates
the gutter is pitched toward the wall. The heavy volume of water from
this steep roof poured on this helmet and ran behind the wall.
|
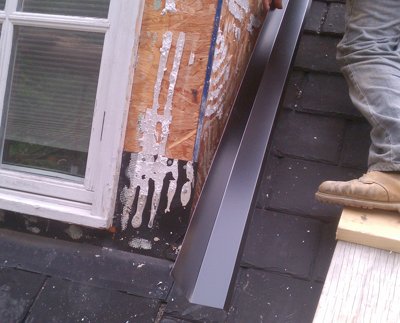
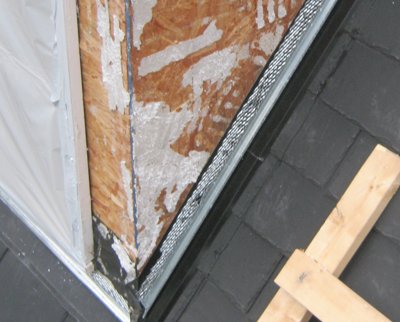
Dormers and
roof intersections were counter
flashed with this pre bent roof apron.
They say on a steep roof like this, a 6/12 pitch, a counter flashing
isn't necessary.
It is necessary on a 5/12 pitch or less.
Like they say about a little chicken soup,
it can't hurt. Or is that a little pasta?
|
|
|
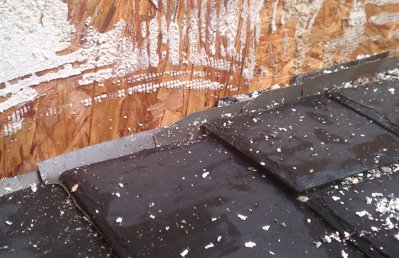
These step
flashings
were made to leak.
They only turned up the wall
about an inch, and were put on OVER the EIFS, instead of behind it.
The faux slates are made from recycled tires.
They should last forever, or 50,000 miles, whichever comes first.
|
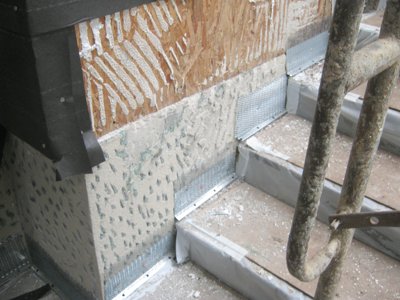
We cut new step
flashings, put on a counter
flashing and a metal plaster stop.
When this is covered with 2 layers of tar paper, lath and 3/4"
of stucco, it won't leak, I promise.
|
|
|
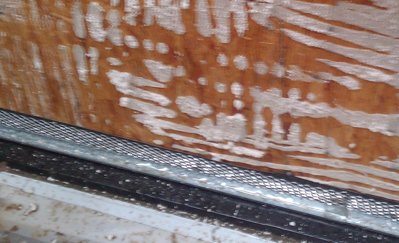
Each step has a weep screed
covered with a strip of metal lath. Note how we cut masonite to cover the steps.
|
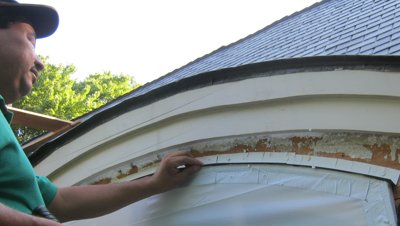
Round windows
are a challenge to flash.
A cut is made about every inch to flex the
flashing. The flashing is then sealed with tape and a layer of tar
paper.
|
|
 . .
|
Don't
forget
the
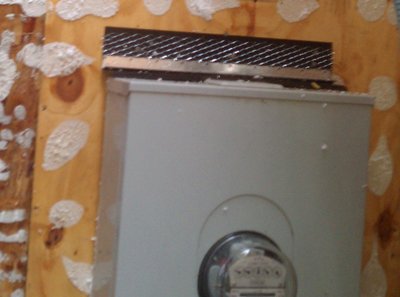
electric meter. We
flashed the electric meter, too. Too bad these electric meters
are ugly battleship grey. Foxhole brown
would look better.
|
Dormer
flashed
and
covered with plaster stop. We found these homemade chicken
ladders a safe way to scaffold dormers.
|
|
|
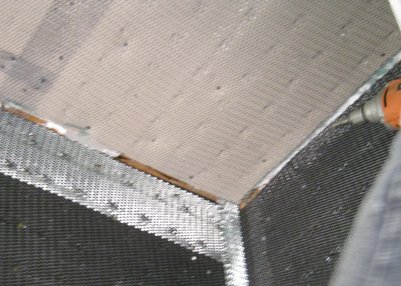
Lath
is
put
on the plywood ceiling with screws. Stucco ceilings are permanent.
|
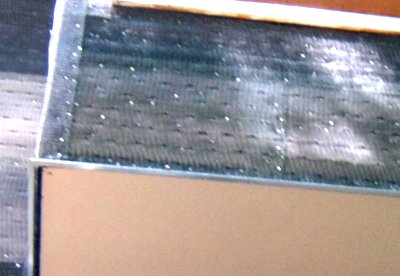
Plaster
stop
allows
the wall on this bay window to protrude below the ceiling,
preventing water from running back on the ceiling.
|
|
 f f
|
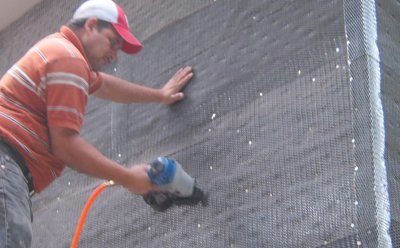
Lath
is
shot
on with a coil nailer and 1-1/4"
roofing nails.
|
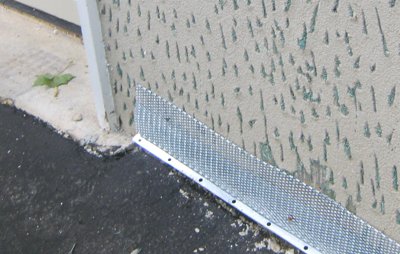
Another
view
of
the weep screed flange covered with a strip of metal lath.
|
|
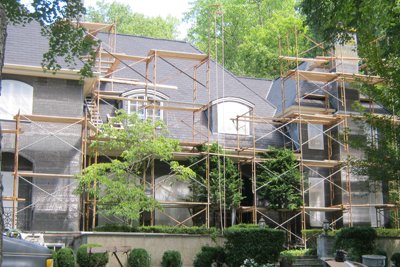
Looks better already. Lath on, mortar next.
To go to the Brown coat page, click here.
To go to the details
page, click here.
This project
had plenty of interesting details. Please
check
back for the next update to see the finished project
|