Jobs in progress
updated May 25, 2012
Over
13 years of jobs in progress, update #123!
Jobs in progress
contains some 400+ pages. Here, you will find a wealth of informaton on the
world's oldest building trade, plaster,
both interior plaster, and exterior cement plaster, also known as
stucco. Please check it out.
A table of contents is forthcoming, like I did on the Stucco News.
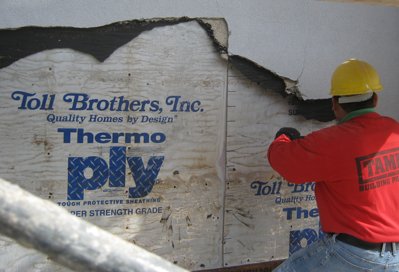
Toll Brothers garbage
replaced in Vienna, Virginia
|
Somebody nailed metal lath on cardboard.
Therma ply is silver cardboard, and isn't meant
to carry the weight of mortar. This is the reason
these walls were buckling and falling off.
This was one of the houses that
Toll Brothers
replaced the EIFS with one-coat synthetic
sono wall.
Over 140 houses in northern
Virginia were done
by a unlicensed contractor from Chicago.
You have to be mighty stupid to
nail metal lath to
therma ply.
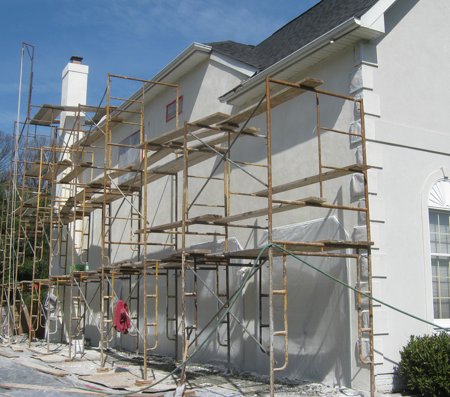
Of course, we nailed the new lath to the studs.
|
|
|
Finished Product:
Self-furring metal lath, nailed to the studs this time, an
honest 3/4" cement basecoat with a real Cement and sand
finish coat.
The wall is later painted
to match the toxic synthetic
finish on the rest of the
house.
Please click here or on the pictures for more.
|
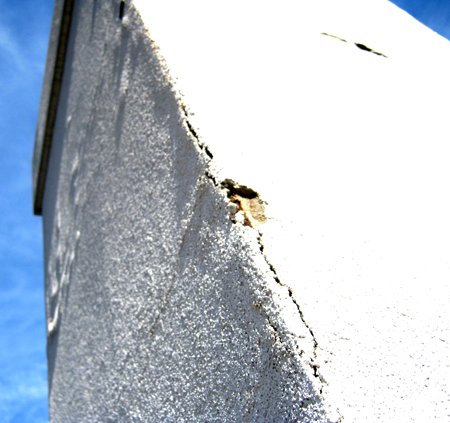
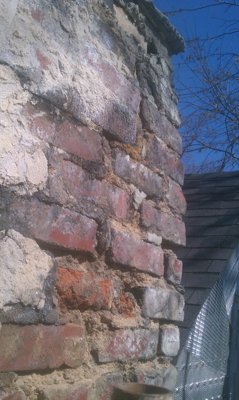
The chimney,
also was loose and ready to pop off.
You could wiggle the stucco
with your hand. If you live
in a Toll Bros. house,
maybe you should wear a hard hat.
Note how the synthetic
finish bubbles up when it
traps water.
More details here
|
|
|
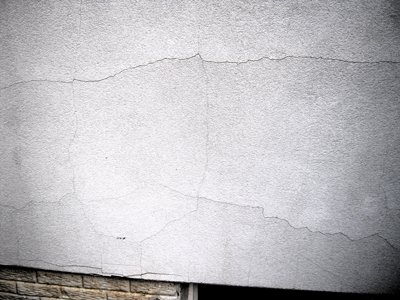
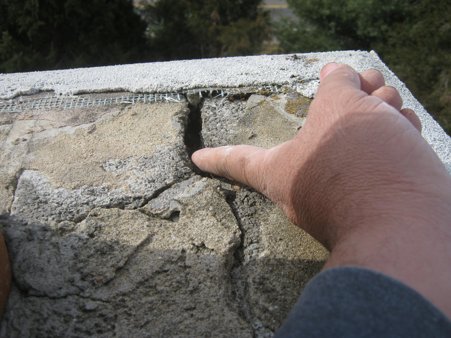
The walls here
are so loose you can wiggle them.
Toll Brothers replaced EIFS on over 140 houses in
northern Virginia about 2003 with this junk, metal lath, a
thin cement basecoat, and a synthetic finish.
Please click here or on the pictures for more.
|
Tell me this
chimney doesn't leak. A couple shovelfuls of mortar may
have saved this chimney. This is fast and cheap for you.
More details here
|
Stucco
make over in Arlington, VA
|
|
|
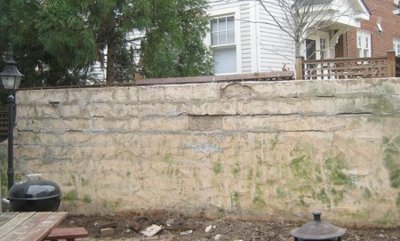
BEFORE:
The old wall was a little
shabby looking.
The top was flat allowing
water to penetrate over
the years.
Please
click here or on the pictures to see how
we did it. |
|
AFTER:
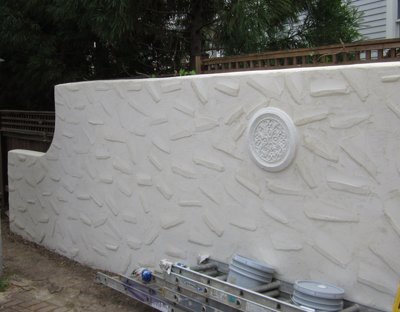
I cast a medallion to put
on the finished wall.
The top was rounded off for
good water runoff, so maybe it will last longer this time.
Please
click here or on the pictures to see how
we did it.
|
|
|
|
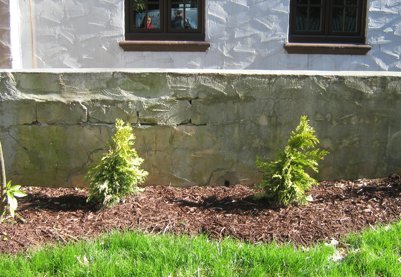
BEFORE:
Front entrance wall had
seen better days.
Please
click here or on the pictures to see how
we did it. |
|
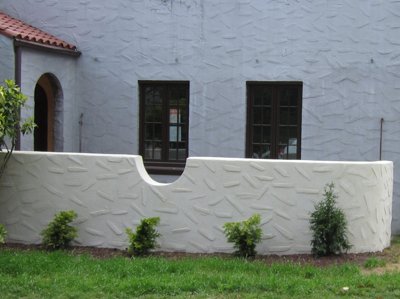
AFTER:
The front wall was extended
up 2 courses of block and re-stuccoed. How do you like my round peek through ?
Please
click here or on the pictures to see how
we did it. |
|
|
|
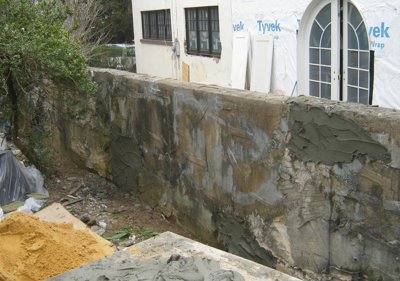
BEFORE:
Deteriorated areas were
chopped out and filled in.
Please
click here or on the pictures to see how
we did it. |
|
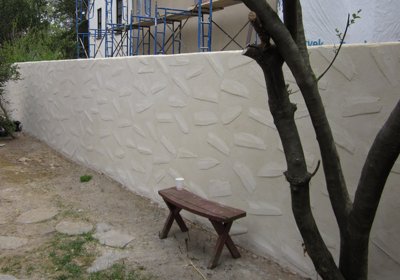
AFTER:
The wall was extended up 3
courses of block for privacy and re-stuccoed to look like
new.
Please
click here or on the pictures to see how
we did it. |
Stucco replaced in
Arlington, Virginia
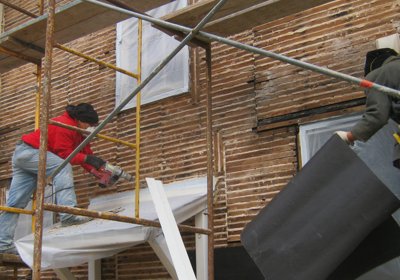
ABOVE:
^
Old stucco stripped off to the old wood lath.
LEFT:
----------->
Badly deteriorated chimney repaired.
Please
click here or on the pictures for more.
|
 |
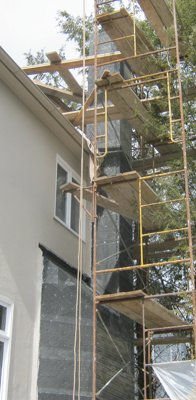
Stucco chimney
replaced in Washington, DC
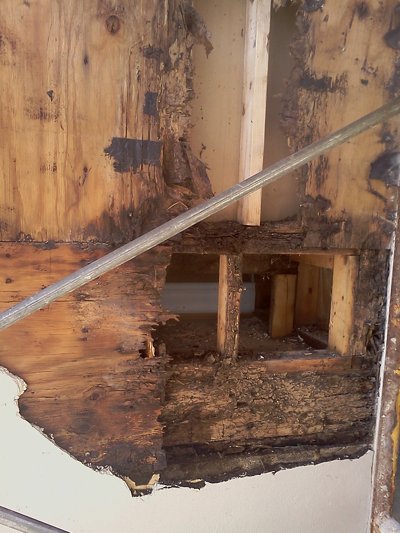
The top of this chimney was
left wide open when
the stucco was done about
30 years ago, leading to rot.
The whole thing was torn
down and rebuilt.
|
 . .
|