Jobs in progress
updated July 6, 2012
Over
13 years of jobs in progress, update #124!
Jobs in progress
contains some 400+ pages. Here, you will find a wealth of information on the
world's oldest building trade, plaster,
both interior plaster, and exterior cement plaster, also known as
stucco. Please check it out.
A table of contents is forthcoming, like I did on the Stucco News.
Stucco replaced in
Alexandria, Virginia
|
|
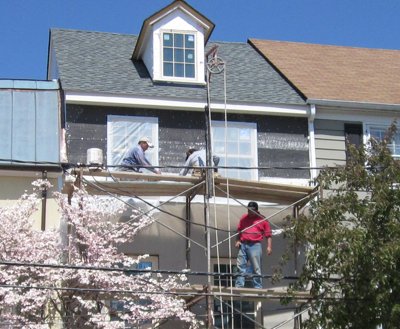
Our project starts as a 4th floor
pop-up addition
for Finn
Construction.
More...
|
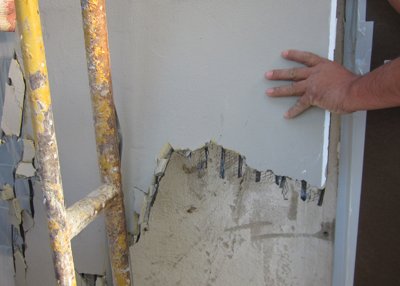
The house had
been re-stuccoed and the newer stucco was loose and
failing. Metal lath was nailed
over the old soft stucco with short nails, instead
of nailing all the way into the block. It was easily
pulled off with our bare hands. Also, the lath was
painted, instead of galvanized for exterior use.
Rib lath should never be used for outside stucco.
For inside plaster the ribs should always be horizontal,
instead of vertical.
More...
|
Vinyl
siding replaced with
REAL stucco
|
|
|
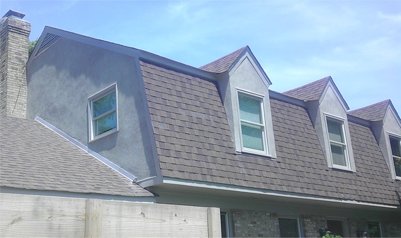
AFTER:
Stucco sure looks better
than that durn siding.
Please click here or on the pictures to see how
we did it. |
|
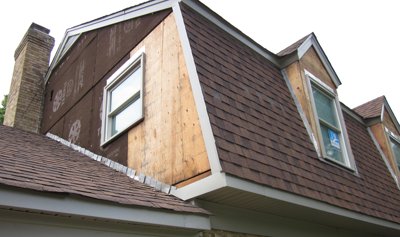
BEFORE:
Siding torn off, waiting
for the real deal to be put on.
Please click here or on the pictures to see how
we did it.
|
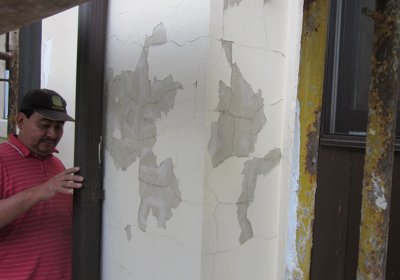
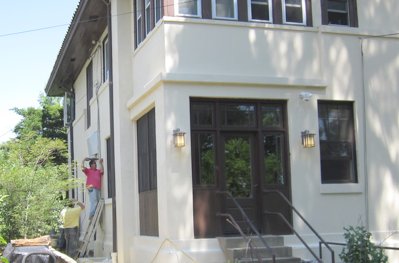
Stucco resurfaced in
Washington, DC
capital of taxation without representation
|
 |
BEFORE:
Removing the copper downspouts, lights, etc.
Please click here or on the pictures for more. |
AFTER:
The finished wall will never need to be painted.
Please click here or on the pictures for more. |
More
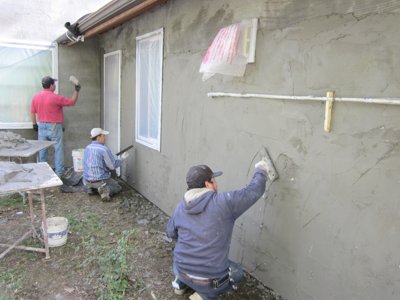
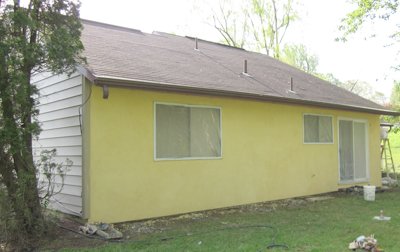
siding replaced with REAL stucco
|
 . .
|
More siding replaced with stucco. Photo shows the
brown coat going on.
|
The cheerful finish color is "Birchtone" 479 from
EXPO stucco.
|
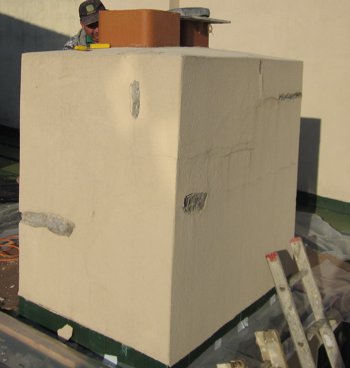
A couple of
stucco chimneys
|
|
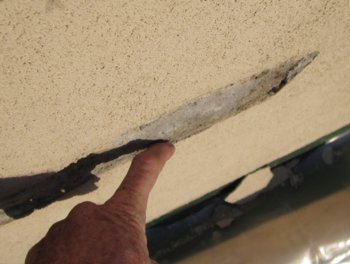
6 year
old synthetic stucco application was
already failing.
The low skilled people that put this on claimed it is real
stucco.
Please click
here or on the pictures to see how we did it. |
Typical of a lot of new houses here in the
Washington, DC area is this fake garbage.
The basecoat is about 1/4", as opposed to 3/4", the
industry standard. The finish coat material is a cheap
looking, highly toxic synthetic finish made out of paint
with plastic sand.
Please click
here or on the pictures to see how we did it. |
|
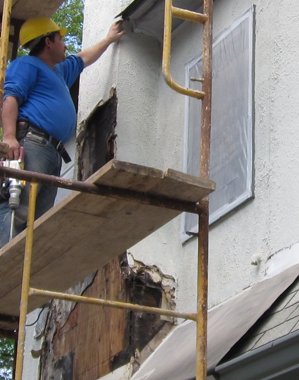
This 10 year old stucco application was well done except for 3 details.
Mecho points to where a
kickout flashing
should have been put on
to prevent all
the rot below.
A scrap piece of sheet
metal, even a beer can, would have prevented this rot.
The top of the chimney
had one of those
water funnel metal caps
that dripped water down the center of the chimney.
Please click here or on the pictures to see how we did it. |
Patch and match
Stucco repair and plaster repair.
|
|
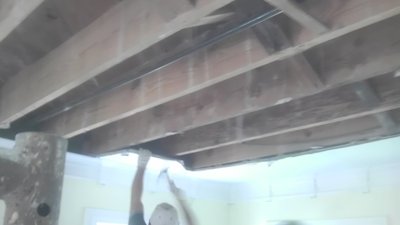
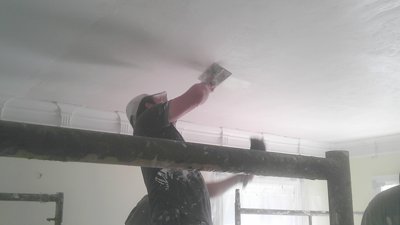
Large
hole in this ceiling is finished in one day,
using Molding plaster and lime.
Please click here
or on the pictures to see how we did it. |
Plaster is
troweled smooth.
This a thick, solid patch. BTW, this is REAL plaster--No sheetrock,
no easy
sand, no
drywall materials.
Please click here
or on the pictures to see how we did it. |
|
|
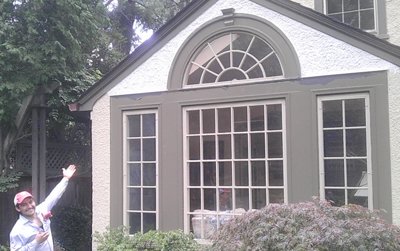
10 year
old addition was already leaking and rotting the windows due
to no flashing over the windows.
We flashed over the windows and matched the texture on the
money.
Please click here
or on the pictures to see how we did it. |
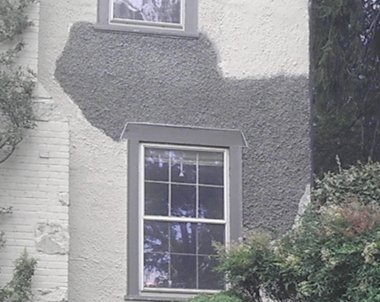
Pebble
dash patched and matched. The water damage was caused by no
flashing over the windows. We cut out the stucco and put on
flashing.
Please click here
or on the pictures to see how we did it. |


 .
.


