Stucco and plaster jobs in progress #178
Updated April, 2024 !
Over 25 years of jobs in progress !
Stucco replaced in the Brookland area
Northeast Washington, DC
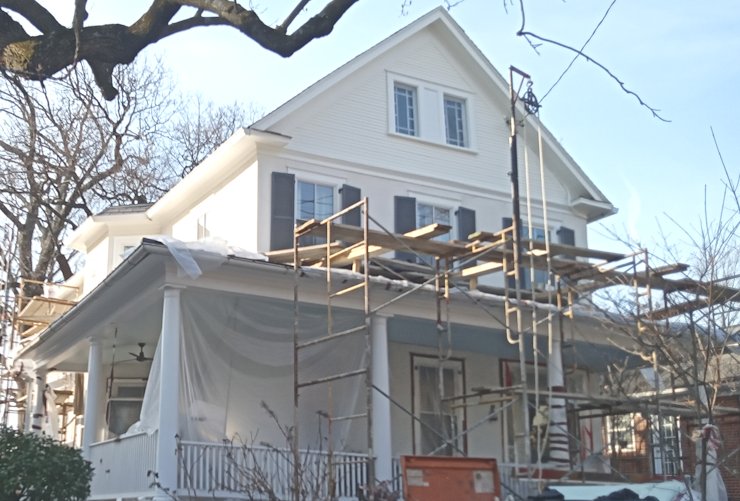
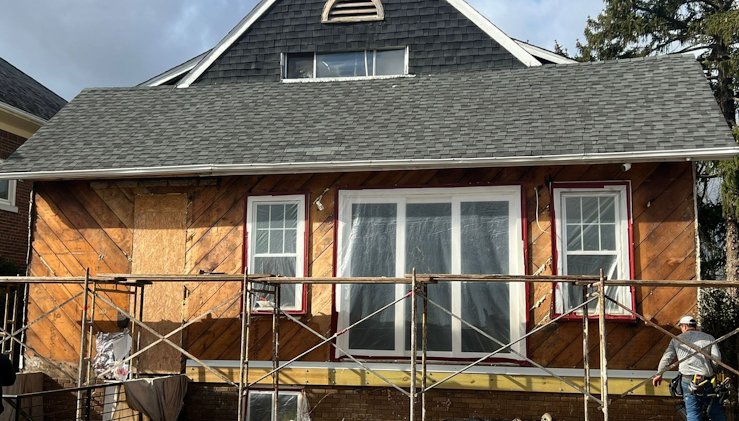
1928 house comes back to life
Old stucco was tired and needed to be replaced.
⇉ SEE THE PAGE I MADE FOR THIS JOB HERE ! ⇇
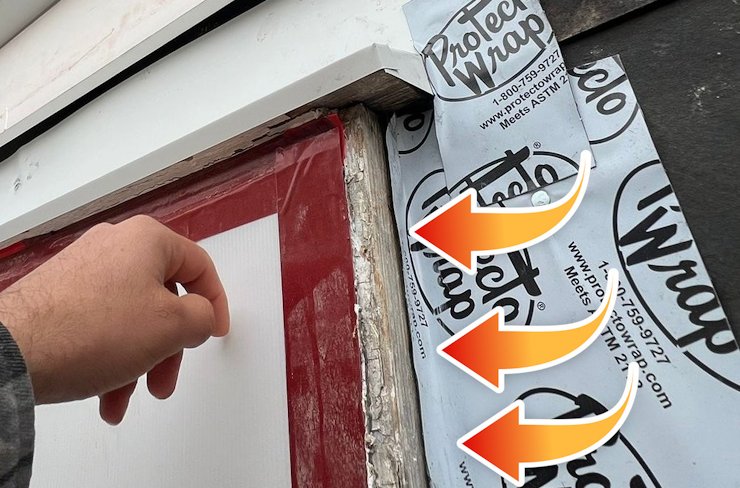
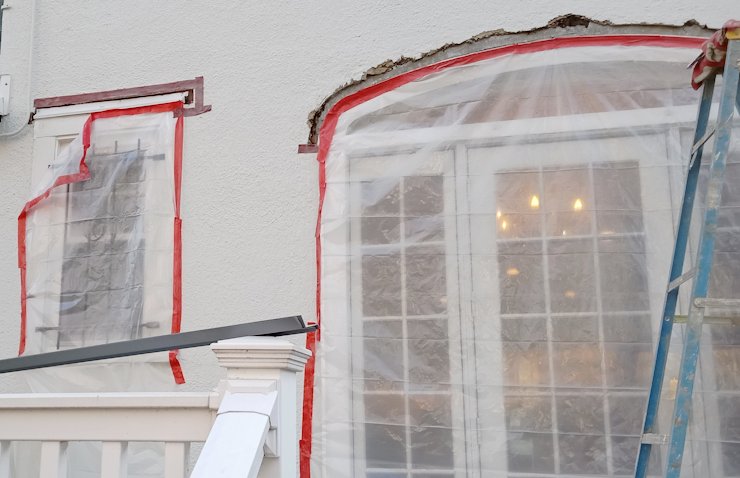
Back side of window trim is sealed with protecto-wrap folded over. We custom made flashing for over the drip molding at the top.
⇉ MORE ABOUT THIS PROJECT ⇇
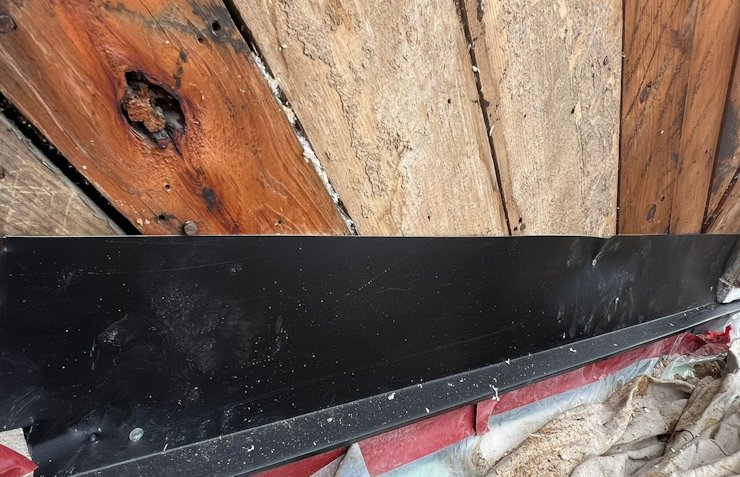
We made flashing for over the edge of the metal roof. The flashing is angled down so water runs out and away from the building.
⇉ SEE THE PAGE I MADE FOR THIS JOB HERE ! ⇇
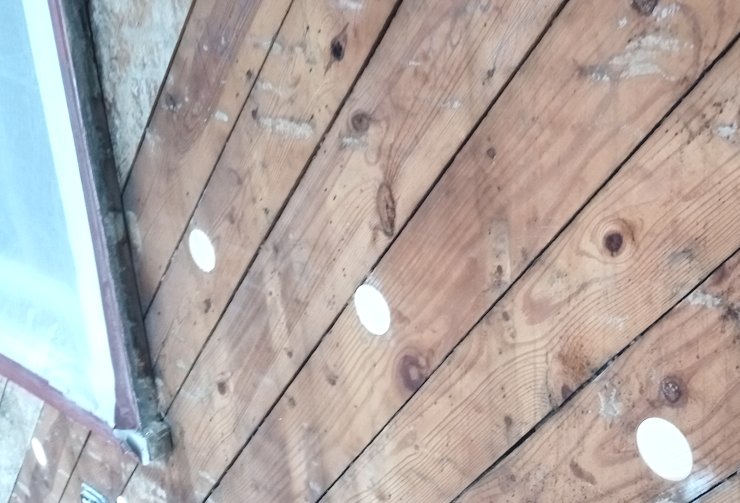
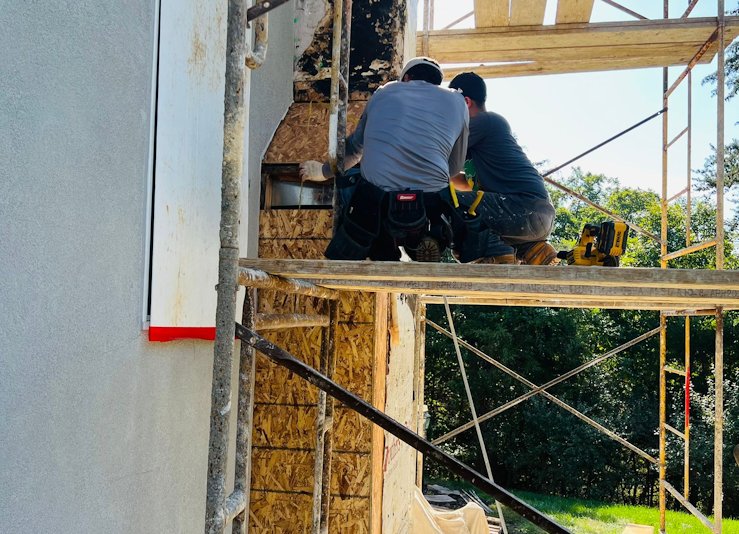
Holes were drilled and for spray in foam insulation. You can see the round plugs. Note the old one by sheathing put on at an angle. Boards have a gap to allow for building movement. Sure don't build them like they used to.
⇉ LINK FOR MORE ABOUT THIS PROJECT ⇇
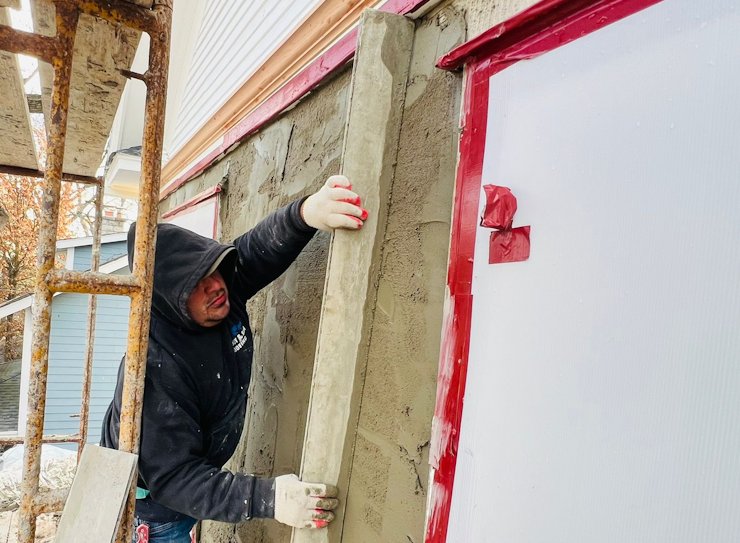
Brown coat is rodded off. Walls are an honest 3/4" thick.
⇉ SEE THE PAGE I MADE FOR THIS JOB HERE ! ⇇
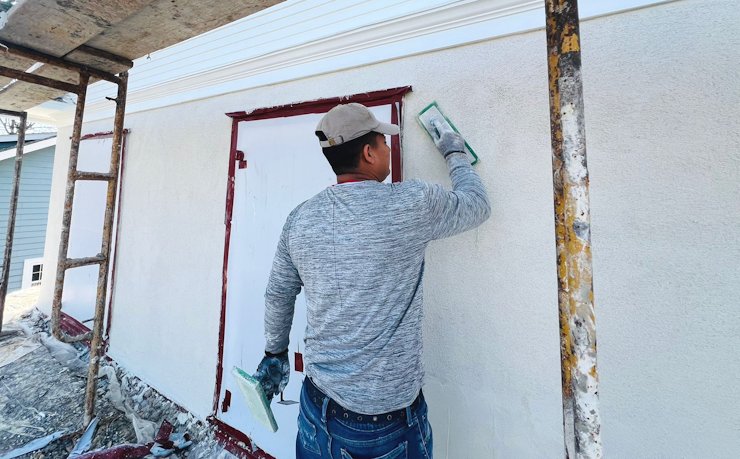
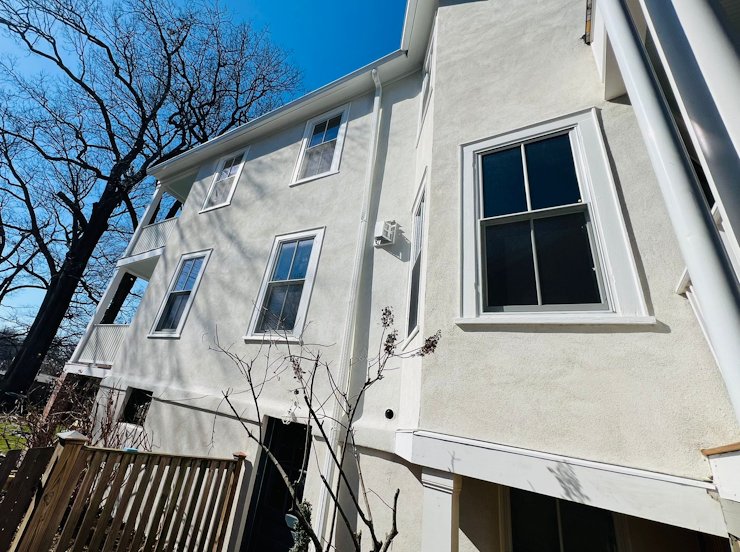
Real white cement finish has a tint added.
⇉ SEE HOW WE DID IT HERE ⇇
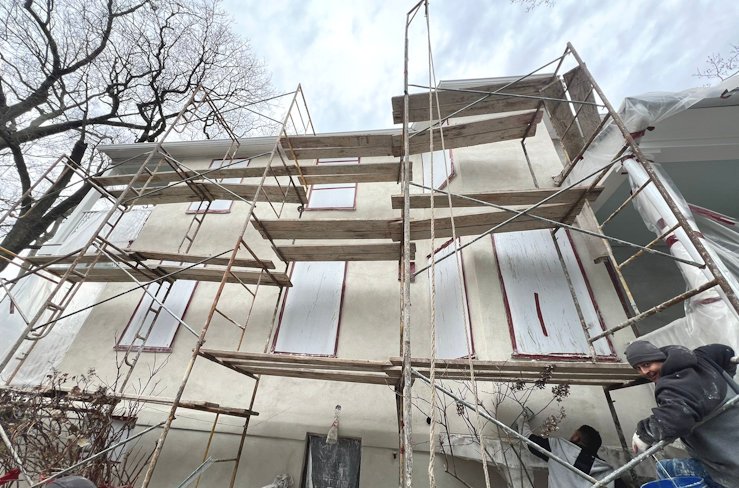
We covered the windows with sheets of correx for the demo through the finish coat.
⇉ SEE THE PAGE I MADE FOR THIS JOB HERE ⇇
Leaking flashing corrected
in Southern Maryland
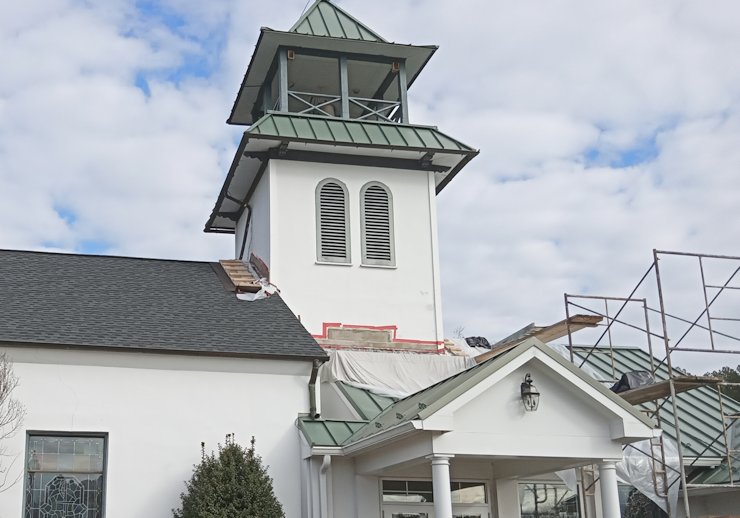
The flashing was leaking on this 5 year old roof installation.
The flashing had pulled loose from the building in some areas, and was put on backwards in some areas. More about this project here in the Stucco News.
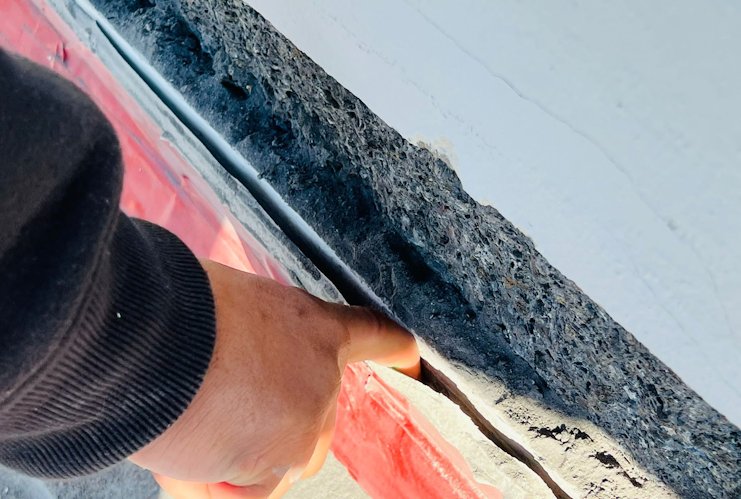
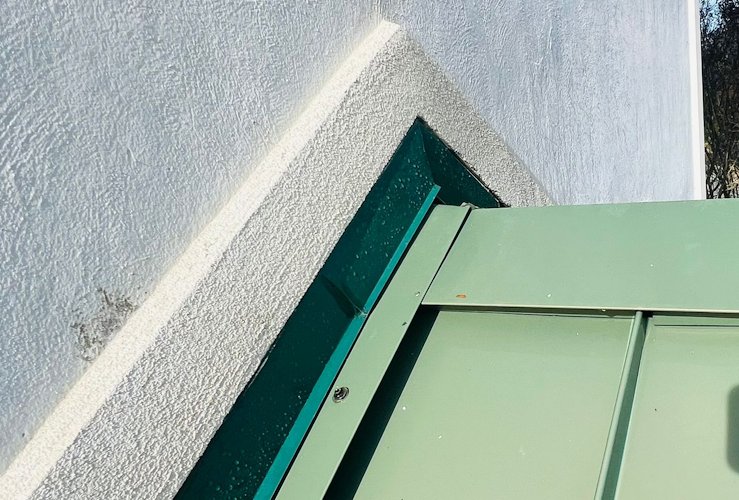
We cut off the stucco about 4 inches above the roof flashing to put on flashing above the old flashing. A lot of this roof leaked because the stucco was patched with EIFS and there was nothing to anchor the flashing to. Here, the flashing was put on backwards angled into the building instead of away from the building.
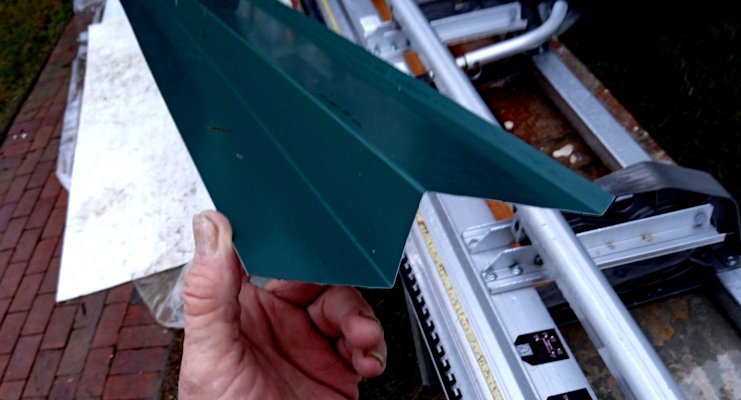
We made new z-flashing with a metal brake. The z shaped flashing is like putting a roof over the old flashing.
We made a decorative band aroung the edge to hide the patch. You may have seen how we do this here on the Stucco News.
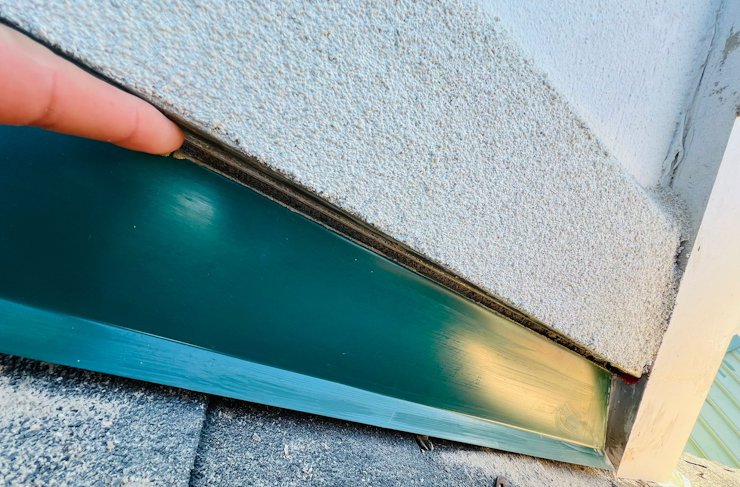
We left a drainage gap for water that penetrates the stucco to exit over the flashing.
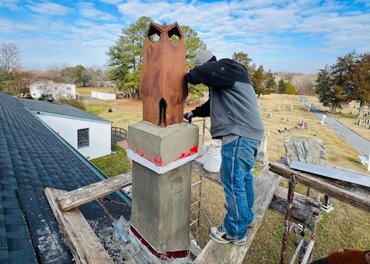
The chimneys from 1850 were used to heat the sanctuary. We re-did the chimneys without breaking the old chimney pots.

The window sills were my idea. They deflect water away from the wall, and cover the horizontal edge of the stucco.
Stucco replaced in the Crestwood area
Washington, DC
1922 stucco was lime and sand (not cement) on wood lath. It needed replacement.
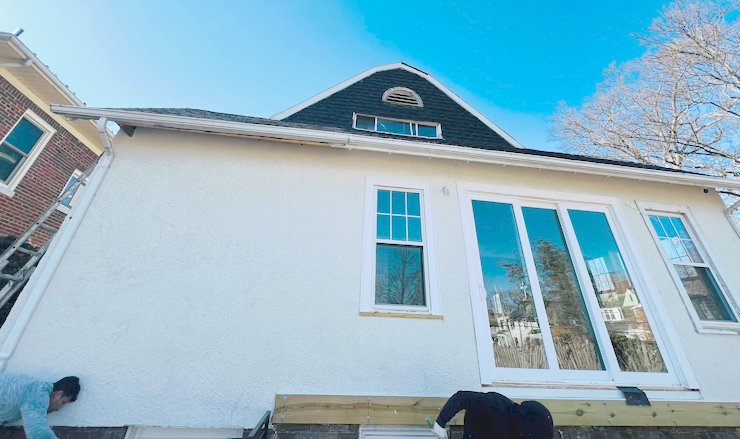
Finished wall.
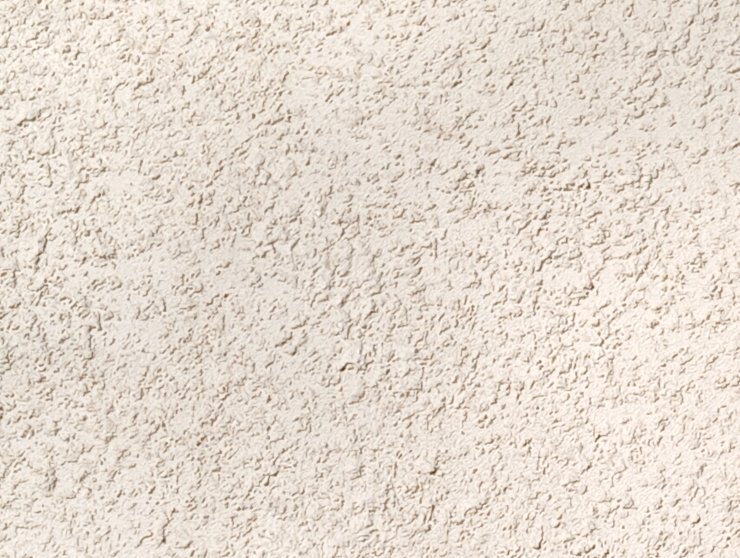
Dash on finish like the old wall.
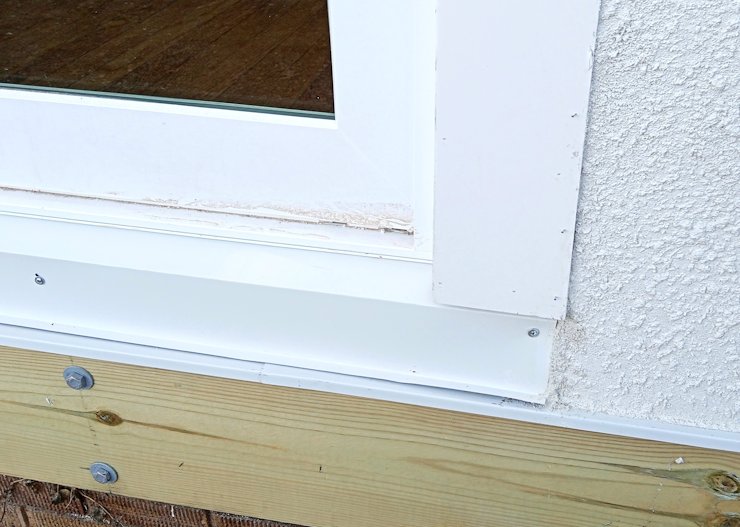
A close up of the ledger flashing and the flashing we made for under the sliding door.
Leaky windows fixed
in Washington, DC
We cut the stucco off above the window to put flashing over the window.