Stucco and plaster jobs in progress #175
Updated June, 2023 !
Almost 25 years of jobs in progress !
Historic plaster restored
Chestertown, Maryland
Just like 1889 again

You can ride on the Sultana schooner, a replica of a 1765 sailing ship, here on the Chester river.

This cast iron fountain was completed in 1899.
It is across the street from our job.
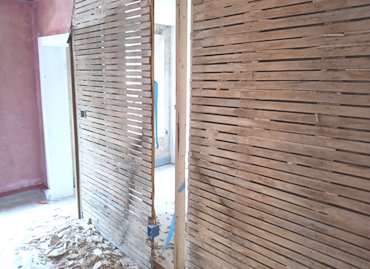
Loose plaster was stripped off the wood lath.
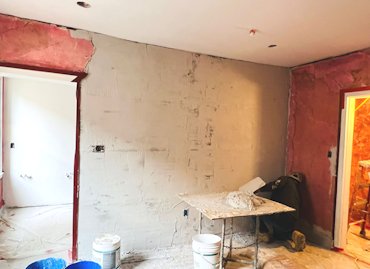
Bare wood lath was covered with metal lath. Areas are filled in with brown mortar, that is
gypsum plaster and sand.
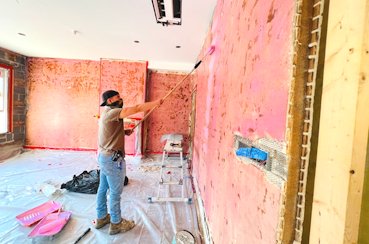
Old lime and sand plaster that was still in good shape is painted with Plaster Weld.
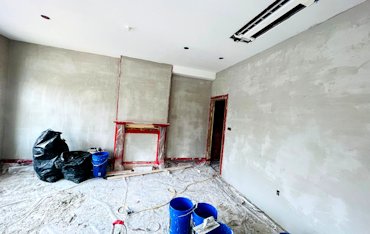
Walls are coated with veneer plaster basecoat.
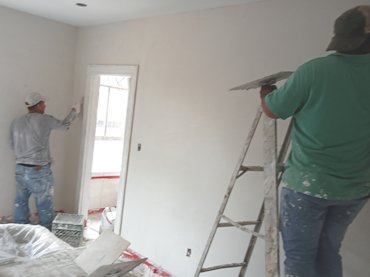
Finish coat plaster is molding plaster and lime.
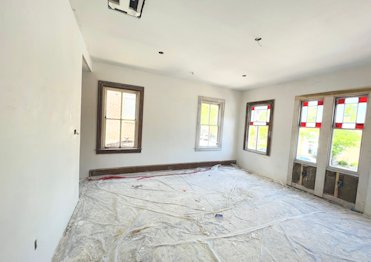
Just like 1889 again.
Pebble dash stucco replaced
Arlington, Virginia
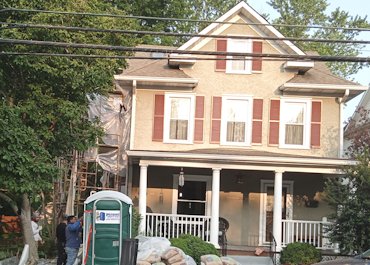
We replaced the stucco on the front of this house in 2001. We are now tearing off the side.
Here's a link to what we did 22 years ago.
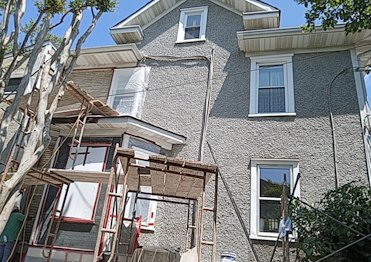
Pebble dash stucco is like new again. The original house had wood clapboard siding in 1910, and
was stuccoed probably in the late 1920's.
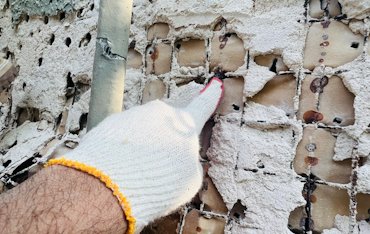
Welded wire lath was a little rusty. This usually won't rust if the stucco is 3/4" or more.
The reason the stucco is failing is the mortar is too thin.
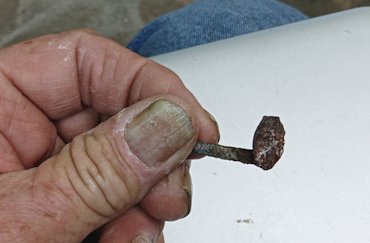
These furring nails were made in the 1920's for welded wire lath. The lop sided head formed a hook
to support the lath. The idea was to drive the nail tight, but to leave space for mortar to get behind the lath.
More about furring nails...
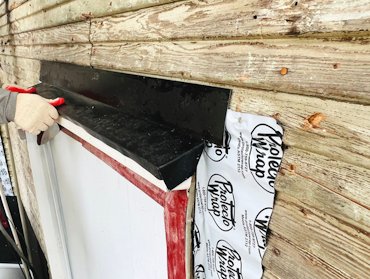
Old window wrap was covered with new flashing. Back side of windows are sealed with protecto wrap.
Note how we covered the windows with correx to prevent damage from demolition.
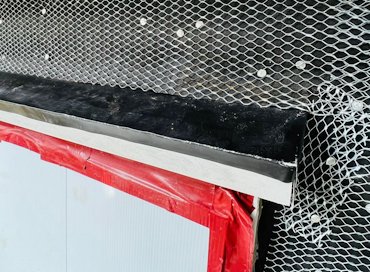
Two layers of tar paper and self furring metal lath. Ready to sling mud, I mean, carefully apply mortar.
Stucco replaced on this 1926 townhouse
in Washington, DC
The capital of taxation without representation
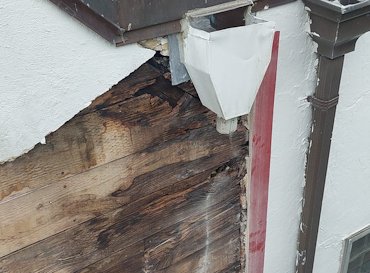
The scupper and collector head were leaking creating a lot of damage. This was fixed before we started.
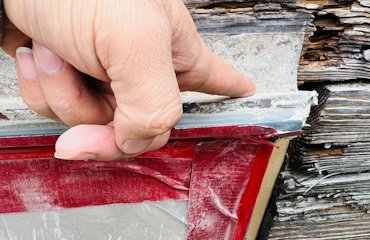
The windows were replaced a few years ago and leaked like crazy. The people who replaced the
windows and trim pushed the flashing up, creating a water funnel.
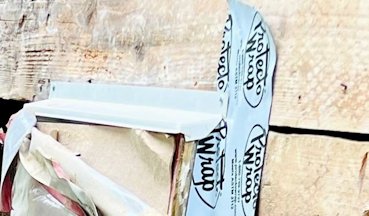
The sides of the window were sealed with protecto tape, and new flashing is correctly put on the top. You may get tired of me saying this over and over, but leaking windows cost big bucks in damage. Maybe someone will listen.
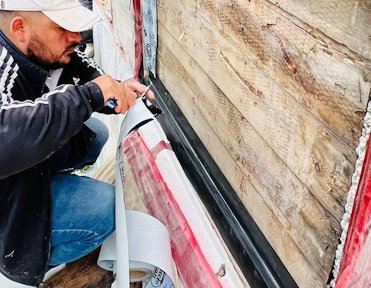
The flashing at the bottom was leaking into a closet. We fixed that, too. Flashing was covered with new flashing.
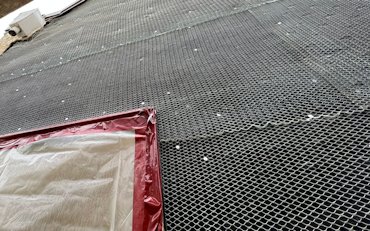
2 layers of tar paper and metal lath.
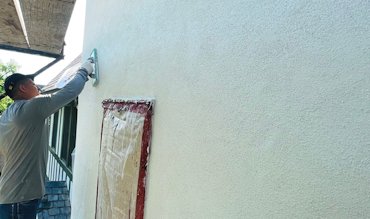
Finish coat is white portand cement, lime, and white silica sand.
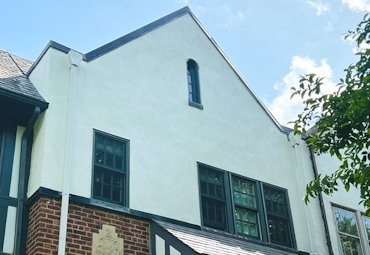
Just like new, only a better.
Leaking chimney fixed and re-stuccoed
Charlottesville, Virginia
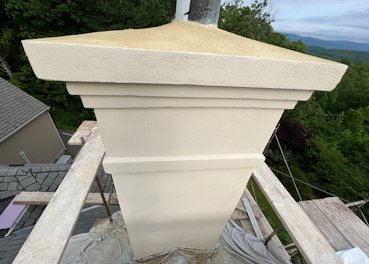
Chimney redone. No way this is going to leak.
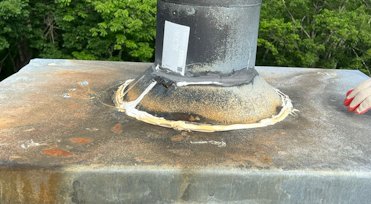
Metal pan at the top is lower in the center than the
sides, causing a water pool. This is good for mosquito farming,
but chimneys done this way will rust through.
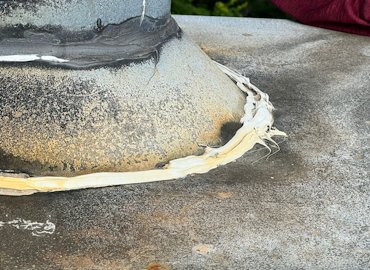
Caulking isn't made to withstand high temperatures or standing water.
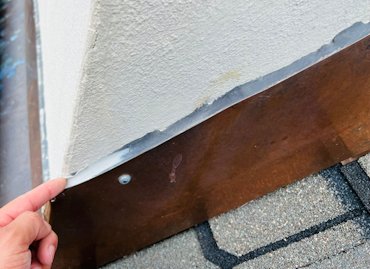
Flashing is put on over the stucco, and not under the stucco. Water will
penetrate stucco even if it has been painted. Please see how we fixed it.
Another leak repaired
in Reva, Virginia
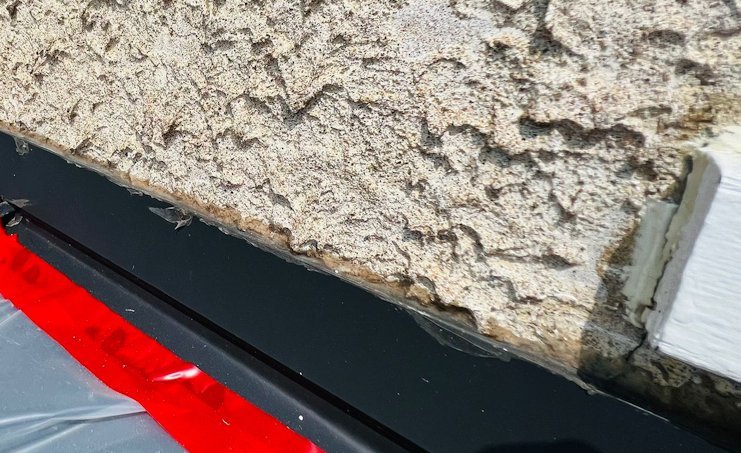
Flashing is over the stucco and not under the stucco. Flashing was glued on with a gob of caulk.
Water runs into the house every hard rain.
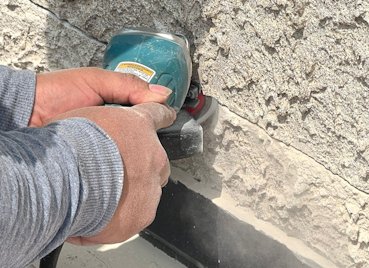
Stucco is cut off above the roof flange with a diamond blade.
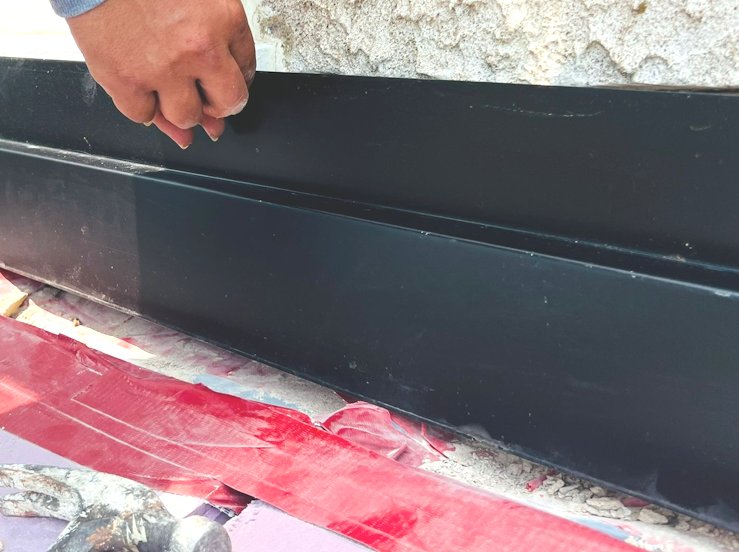
S flashing also known as Z flashing is fitted over the roof flange.
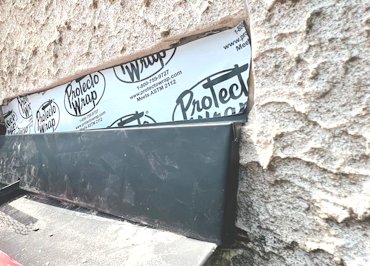
Protecto wrap is cut off tight to the underside of the stucco. Note the notches
we cut for the standing seams.
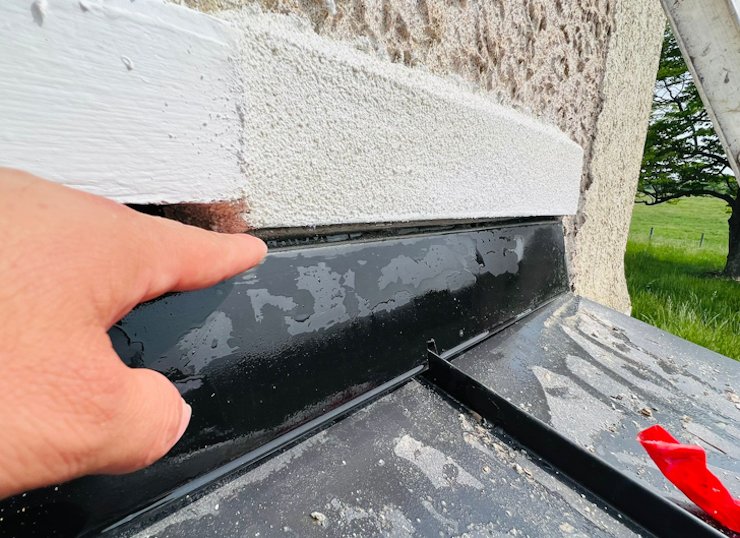
We did a decorative band to hide the patch. We made weeps under the stucco and left a good wide gap
for water drainage.
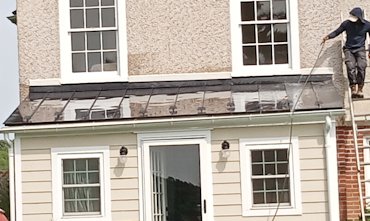
Decorative band looks right in place.
I'll have a lot more details about how we did
this project and others like it in the July issue of Stucco News.
Stucco Repair
Patch and match
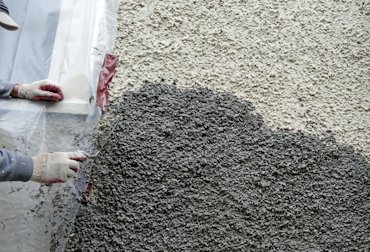
Pebble dash repair matches exactly in Washington, DC.
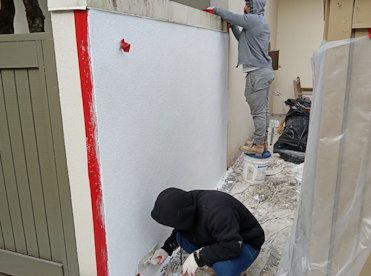
Flashing fixed and stucco recoated in Reston, Virginia.
Please check back. Thanks so much for visiting my site.


